
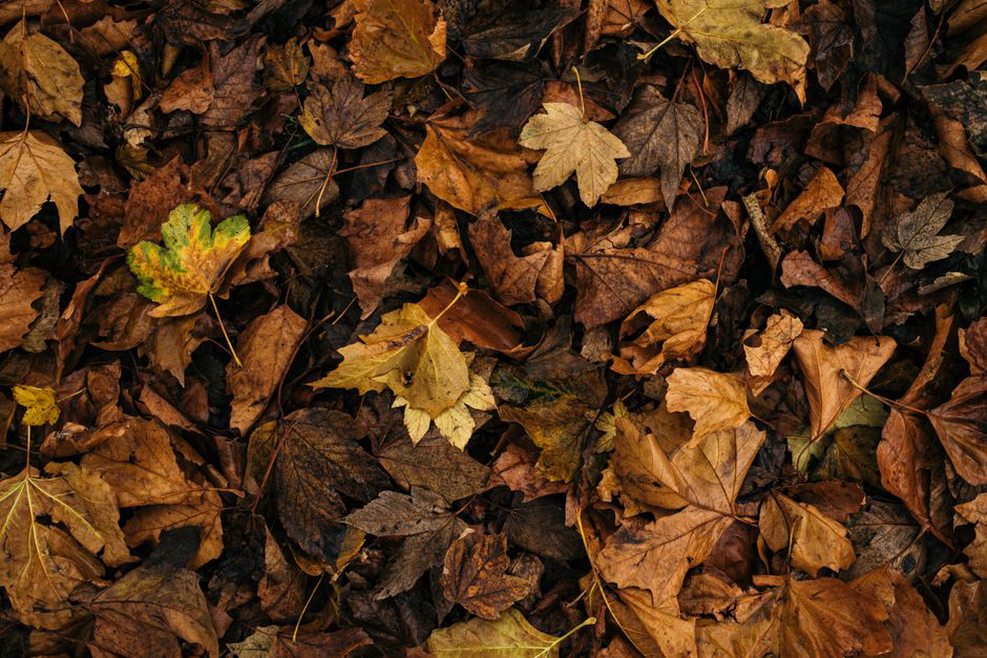
Cover fresh vegetable peels with dry leaves rather than leaving them on top of the compost heap. The leaves absorb moisture and make the scraps less accessible to flies; spaces between the materials let air reach the organisms breaking them down. Covering each addition is a useful habit for home composting.
Compost forms as microorganisms and other decomposers break down organic material. At home, you do not need to maintain a precise formula or temperature. You need a workable mix of moist ingredients, drier fibrous material, air and time. Finished compost can improve garden soil and give suitable kitchen and garden waste a use, but contaminated or hazardous material needs separate handling.
Choose a setup you can use regularly
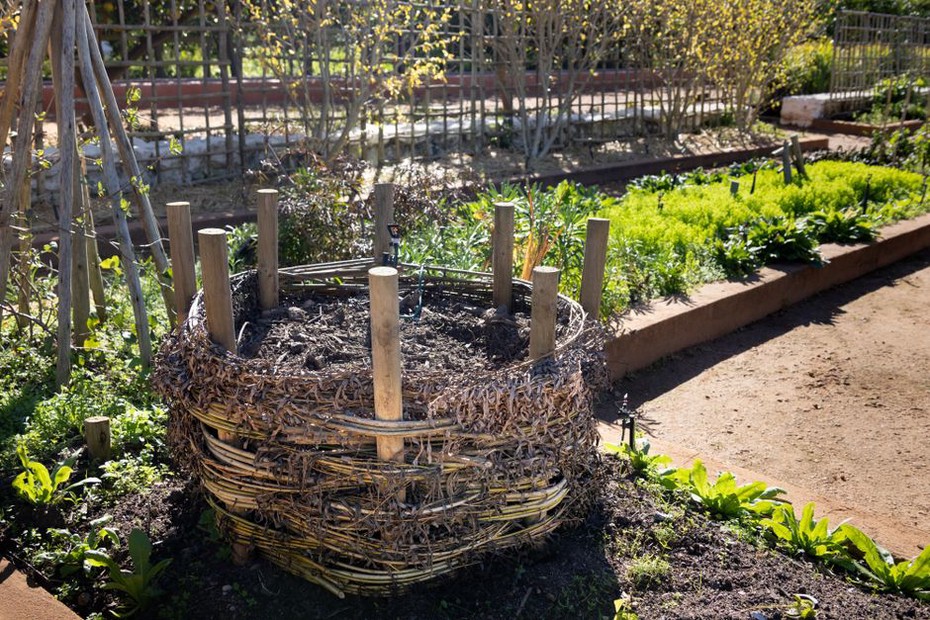
If you have a garden, an outdoor bin or small heap is usually the simplest option. A bin contains the material and may look tidier; a heap can be easier to turn or expand. Neither needs to be elaborate. A container should admit some air and let excess water drain rather than collect at the bottom. Placing it on soil, where practical, gives earthworms and other soil organisms access. A bin on a hard surface can still work if you manage drainage and airflow.
Choose a spot you can reach with kitchen scraps even in wet weather. Partial shade may keep a small bin from drying too quickly in hot conditions. Leave room to lift the lid, add dry material and remove finished compost. Avoid sites where runoff could carry leachate toward a drain, well or watercourse. Local rules may also limit where a heap can sit, particularly in shared housing.
For a balcony or indoor space, a sealed food-scrap bucket is a collection container, not a composter. A managed worm bin can process suitable scraps in a compact area. A countertop appliance may dry or grind waste without producing mature compost. If outdoor composting is not feasible, check what your local food-waste collection accepts; its list may differ from what belongs in a home bin.
Learn what the ingredients do
Composters often call fresh, damp materials “greens” and dry, fibrous materials “browns.” The terms describe how the materials behave, not necessarily their color. Vegetable trimmings and fresh grass provide moisture and readily available nutrients. Fallen leaves, torn plain cardboard and small amounts of shredded paper absorb water and help keep the pile open. Too many wet greens can make it dense and smelly; a pile of mostly dry browns may change very slowly.
You need not weigh each addition. Begin with plenty of browns, add smaller amounts of food scraps, then cover them with more browns. Keeping dry leaves or torn cardboard near the bin makes that last step easier. If the pile becomes wet and compressed, mix in bulky dry material. If it stays dry, add water gradually. These checks are more useful to a beginner than an exact ratio by volume.
Useful materials for a basic outdoor bin
- Kitchen greens: fruit and vegetable scraps, coffee grounds, paper coffee filters and loose tea leaves.
- Garden greens: fresh plant trimmings and small amounts of grass clippings. Mix grass through the pile instead of leaving it in a thick mat.
- Browns: dry leaves, untreated plant stems, torn uncoated cardboard and modest amounts of plain paper.
- Optional additions: crushed eggshells can go in, though visible pieces may remain long after softer material has decomposed.
Cut bulky stems or large scraps into smaller pieces to expose more surface to decomposers; there is no need to finely chop every peel. Do not pack down the material as you fill the bin. A loose mix leaves space for air, and a dry cover over new scraps helps limit odor and animal interest.
What to leave out
In an ordinary backyard bin, beginners should leave out meat, fish, bones, dairy, oily cooked food and large amounts of bread or other processed food. These can attract animals and smell before they break down. Keep pet feces, used cat litter and human waste out of compost intended for a vegetable garden because of pathogen concerns. Also exclude coal ash, treated or painted wood, glossy packaging, plastic-coated paper, produce stickers and material with uncertain chemical contamination.
Leave diseased plants, invasive weeds and weeds carrying mature seeds out of a cool home pile. Some managed systems get hot enough to reduce these risks, but a typical small bin may not heat evenly or stay hot long enough. Check local guidance before adding pesticide-treated garden material; if you do not know what was applied, leave it out. Packaging labeled “compostable” may also remain intact in a backyard bin if it requires industrial processing conditions.
Build the first batch without overcomplicating it
- Lay down coarse browns. A loose base of dry leaves or small twigs can help keep the bottom from compacting. Avoid a dense cardboard layer that blocks drainage.
- Add a modest amount of greens. Spread scraps out rather than dumping a wet clump in one spot. If you collect scraps indoors for several days, empty the container before its contents turn soupy.
- Cover the fresh material. Add dry leaves or torn cardboard until food is no longer exposed. Repeat with each new addition.
- Check moisture by touch. The mixed material should feel damp, not saturated. If a squeezed handful releases more than a few drops of water, mix in dry browns. If it feels dusty, sprinkle on water while mixing.
- Allow air in. As the bin fills, loosen compacted sections with a garden fork or compost aerator. Turning the whole pile can produce a faster, more even batch, but you need not do it whenever you add scraps.
A handful of garden soil is optional; you do not need to buy a starter. Decomposers arrive with leaves, soil residue and the surrounding environment. Commercial accelerators will not fix a waterlogged pile, a lack of air or a batch too small to retain warmth.
Know what changes are normal
In a working heap, scraps soften, leaves darken and the pile settles. A larger, well-mixed batch may warm as microorganisms become active. A small bin filled slowly may never feel noticeably hot, especially in cold weather, and can still produce compost. Temperature alone is a poor pass-or-fail test.
How long it takes depends on the season, bin size, particle size, moisture and mixing. A tended batch may be ready within months; a cool heap that receives fresh scraps continuously can take much longer. To tell when one batch is finished, stop adding to that section and fill a second bin or compartment. Otherwise, new peels will remain mixed with older material.
Insects, worms and other small organisms are normal in an outdoor heap. A strong rotten smell, persistent clouds of flies or signs of rodents mean the bin needs attention. Wash your hands after handling compost, and wear gloves if you have cuts. Before turning dry material, dampen it lightly so you do not breathe in clouds of dust.
Diagnose problems by what you can observe
Rotten or sulfur-like odor: The pile is often too wet or compacted for oxygen to reach its interior. Break up matted sections, mix in dry leaves or torn cardboard, and check drainage. Hold off on more kitchen scraps until you have corrected the problem.
Ammonia-like smell: A concentrated addition of fresh grass or other nitrogen-rich material may be responsible. Mix it thoroughly with browns. Perfume, lime or other additives that mask the smell will not improve the mix.
Fruit flies: Bury fresh fruit scraps and cover them with dry material. Keep the lid fitted if the bin has one, and rinse the indoor collection container. If flies are already present, pause fruit additions until exposed scraps have broken down or been buried.
Little visible progress: Check whether the center is dry or consists mostly of intact leaves and cardboard. Add water gradually if needed, mix in available greens and break up oversized pieces. Cold weather slows decomposition; it does not mean the pile has failed.
Animal disturbance: Remove any meat, dairy or cooked food added by mistake, and bury new plant scraps. Where animals regularly forage, a secure bin can help. A lid alone will not solve the problem if food is accessible through the base or side gaps.
Use finished compost where it helps
Mature compost is generally dark and crumbly, with an earthy rather than sour smell. Most original ingredients should be hard to identify, though woody pieces and eggshell fragments may remain. Wet, distinctly smelly material or compost full of recognizable fresh food needs more time. You can sift out larger undecomposed pieces and return them to the active pile.
Spread finished compost around established garden plants as a surface layer, keeping it off the stems, or blend a modest amount into garden soil when preparing a bed. It can improve organic matter and soil structure over time, but it does not provide every nutrient a plant needs. Avoid unfinished compost for seed-starting or container plants: it may continue decomposing, hold too much water or have variable nutrient content. A suitable growing mix is more predictable.
If the bin is still being fed, scrape aside the newest material and take only the dark, settled compost beneath it. Return recognizable peels to the active section, then cover the fresh scraps again with dry leaves.