
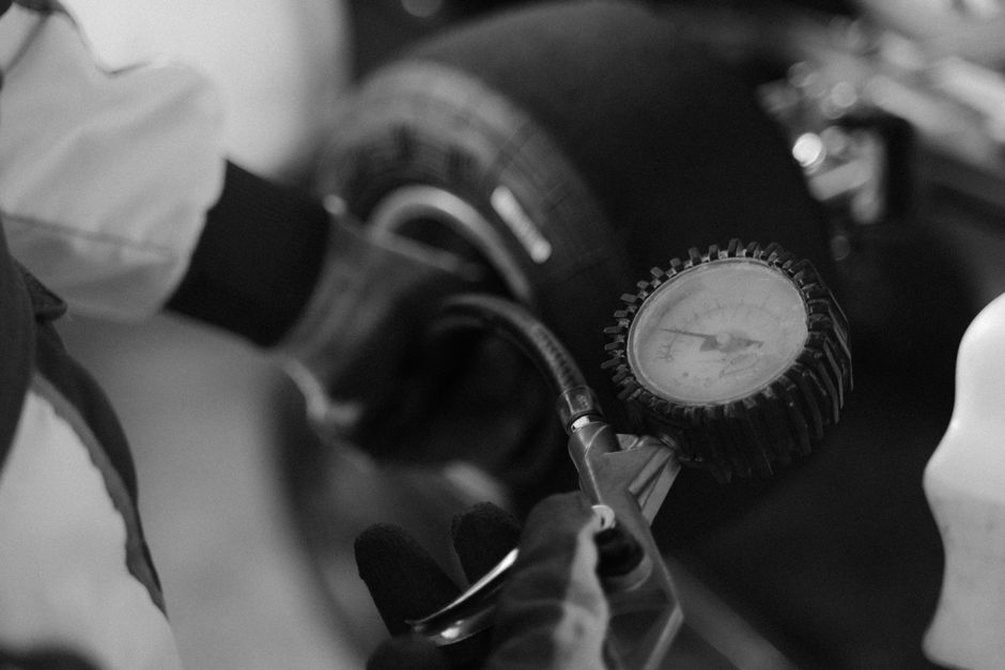
Check tire pressure before loading the car or driving it for the day, while the tires are cold. Use the vehicle's specified pressures for the expected load, not the maximum printed on the tire sidewall. Pressure normally rises as a tire warms up; letting air out to match the cold-pressure figure can leave it underinflated later.
Start early enough to fix what you find
Do the main inspection several days before departure. That gives you time to replace a worn tire, investigate a leak or book a workshop visit. A check on departure morning is still useful, but it is too late to discover work that cannot be finished before you leave.
Consult the handbook for service intervals, fluid specifications, tire pressures and load limits. If maintenance will come due during the trip, arrange it beforehand. Investigate an unresolved warning light, a new vibration or a change in braking behavior rather than setting off with the fault.
Inspect tires, including the spare
Tires carry the load, transmit braking force and disperse water. Check all four for uneven wear, cuts, bulges, embedded objects and visible cracking. Examine the tread across its full width; the outside edge alone may not tell the whole story. A tire can meet the legal minimum yet perform poorly in heavy rain, so weigh likely conditions alongside local requirements. Have a bulge, exposed cord or persistent pressure loss assessed by a professional before travel.
Set cold pressures using the vehicle placard or handbook, including any specified setting for a fully loaded car. If you have a usable spare, check its condition and pressure as well; a temporary spare may require a different pressure. Make sure the jack, wheel wrench, locking-wheel-nut key and any other required equipment are present and compatible. If the car has a tire repair kit instead, read its instructions and check the sealant's expiry date. Neither sealant nor a temporary spare can deal with every puncture.
Check fluids and look for leaks
Park on level ground and follow the handbook's oil-checking procedure. Some vehicles have a dipstick; others provide an electronic reading under specified conditions. Use the correct oil if a top-up is needed, and avoid overfilling. If the level keeps dropping, find out why rather than relying on extra oil in the trunk.
Check coolant only as the manufacturer directs, and never open a pressurized cooling-system cap while the engine is hot. Low coolant, dried residue around a hose connection or a fresh puddle beneath the car needs investigation. Check the brake-fluid reservoir too, but do not treat a low reading as a routine top-up: it may be associated with pad wear or a leak and calls for inspection. Fill the windshield-washer reservoir with fluid suited to the expected temperatures, then test the washers.
Test visibility, lighting and controls
Replace wiper blades that streak, skip or leave large areas uncleared. Clean the glass on both sides; a film inside the windshield can worsen glare at night. Test the low and high beams, turn signals, brake lights, hazard lights and license-plate light. Have someone help with the brake lights, or check their reflection against a suitable surface while the car is stationary.
Confirm that the horn, ventilation and windshield defogging work. Adjust mirrors, seats and head restraints for the people who will drive. If a dashboard warning stays on after startup, consult the handbook even if the car feels normal.
Identify faults that need a workshop
A visual check cannot tell you how much life is left in the brake pads, how a battery performs under load or what is causing a steering vibration. Arrange a professional inspection if you notice grinding or pulling under braking, a spongy pedal, fluid loss, difficult starting, overheating, unusual noises or uneven tire wear. Tell the technician what happens and when; that is more useful than asking for a general pre-trip check.
If the battery is older or has recently struggled to start the engine, ask for an appropriate test. Check accessible terminals for obvious corrosion, but do not attempt work around high-voltage components in an electric or hybrid vehicle. After a repair, allow time for a short local drive and a recheck before taking a remote route. A new part alone does not confirm that the fault is gone.
Load the car without compromising control
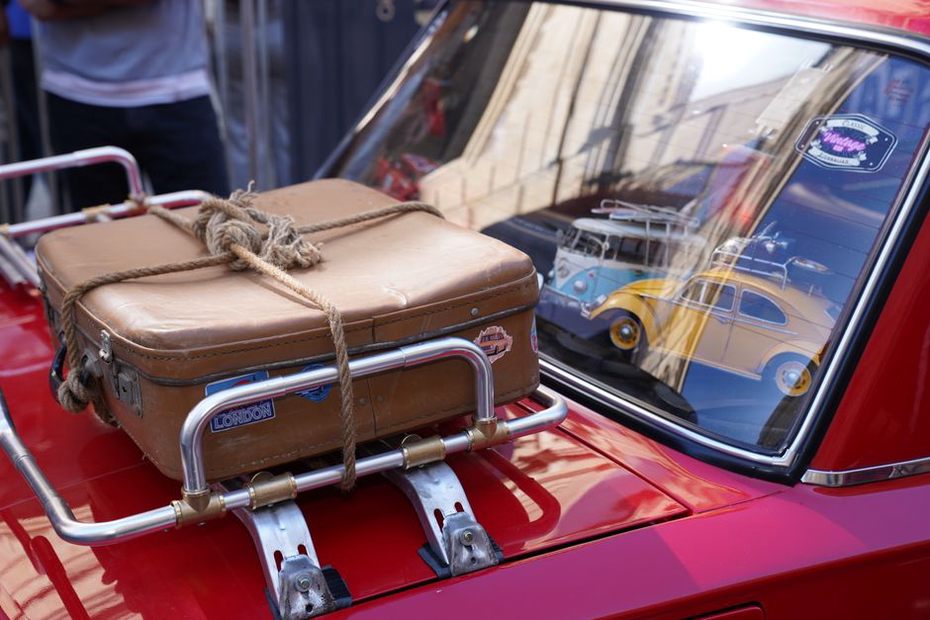
Find the permitted payload and any roof-load limit in the vehicle documentation. Passengers, luggage, a roof box and accessories all count toward the load. Pack heavy items low and secure them against movement during hard braking. Keep the driver's view clear, and do not stack loose objects above the rear seat, where they could become projectiles in a collision. Every passenger should be able to use the correct seat belt; install child restraints, where needed, according to their instructions.
Apply any specified loaded setting for tire pressure or headlight aim. Roof cargo can affect handling and fuel use, so secure it according to the rack instructions and check clearance at low entrances. Once the car is packed, walk around it to confirm that the doors, trunk and roof equipment are properly latched.
Prepare for delays and route changes
Carry the documents and equipment required where you will drive. Keep insurance, registration and roadside-assistance details accessible without depending entirely on a phone signal, and save an offline map if coverage may be patchy. For an electric vehicle, plan charging stops around realistic range in the expected weather and with the expected load; identify an alternative charger as well. Check current weather and road restrictions shortly before leaving, since conditions may have changed since you planned the route.
Keep the kit useful rather than filling the trunk with equipment you will not need:
- Charged phone, compatible charging cable and a backup power source
- First-aid supplies, drinking water and any essential medication
- Flashlight, high-visibility clothing and weather-appropriate layers
- Vehicle-specific puncture equipment and its instructions
Know when to leave a roadside repair to someone else. Stop somewhere safe, away from moving traffic, and request assistance if changing a wheel would put you beside passing vehicles or on unstable ground. On a motorway shoulder, follow local emergency guidance rather than attempting an unfamiliar repair next to traffic.
Make a final departure check
On departure day, look beneath the parked car for fresh fluid, confirm that warning lights go out after startup and check that the tires still look properly inflated. Set navigation and audio before moving. If you share the driving, agree on breaks and driver changes in advance. Fatigue is not a mechanical fault, but it reduces the safety margin just as a vehicle fault can.
At the first stop, inspect the loaded car again. Check for roof cargo that has shifted, a loose item in the trunk or a tire that looks noticeably different from the others. The extra look is particularly useful when the car is carrying more than it normally does.