
Cooked rice meant for tomorrow’s lunch can disappear behind a new grocery bag. A weekly fridge check brings food back into view and gives it a purpose while there’s still time to use it. Do it before meal planning or grocery shopping, when the contents of the fridge can still change your list.
Allow about 15 minutes to inspect, decide and make a short plan. This isn’t a full clean-out. Clear a patch of counter, have a pen or phone ready, and move containers one area at a time so perishable food isn’t left out longer than necessary.
Start with the cold-storage basics
First, check that the refrigerator is keeping food cold. A fridge thermometer tells you more than a numbered dial; aim for 4°C (40°F) or below. If the reading is high, check that the door closes fully and that warm food or tightly packed items aren’t blocking airflow. See whether the temperature recovers, and follow the appliance instructions if it doesn’t. Refrigeration slows microbial growth; it doesn’t make old food safe indefinitely.
Wash your hands before handling open packages or leftovers. Keep raw meat, poultry and seafood contained and below ready-to-eat food, where leaking juices cannot drip onto it. Wipe up spills, particularly around produce drawers and containers. While you’re looking, check for damaged seals, a door left ajar or a shelf so crowded you cannot see the back row.
Work through the fridge in the same order each week
A familiar route is more useful than a perfect arrangement. Check the door, then the main shelves from front to back, followed by drawers and small compartments. Pull out one area at a time to keep food cold and avoid leaving a container on the counter. Read labels, but open only packages that need closer inspection; opening every container adds handling without necessarily helping you decide.
- Identify urgent food. Look for prepared meals, opened packages, cut produce and ingredients near their labelled dates.
- Separate unsafe or spoiled food. Discard it rather than returning it for another review.
- Record usable food that needs a plan. Note the item, approximate quantity and when you intend to use or freeze it.
- Return food deliberately. Put safe, soon-to-use items where they’ll be seen, without blocking airflow or compromising raw-food separation.
In a shared fridge, one visible note can work better than several people rearranging shelves independently. “Cooked lentils: use for Tuesday lunch” gives the food an owner and a deadline. Don’t create a general “eat this” shelf if it would put raw food beside ready-to-eat meals.
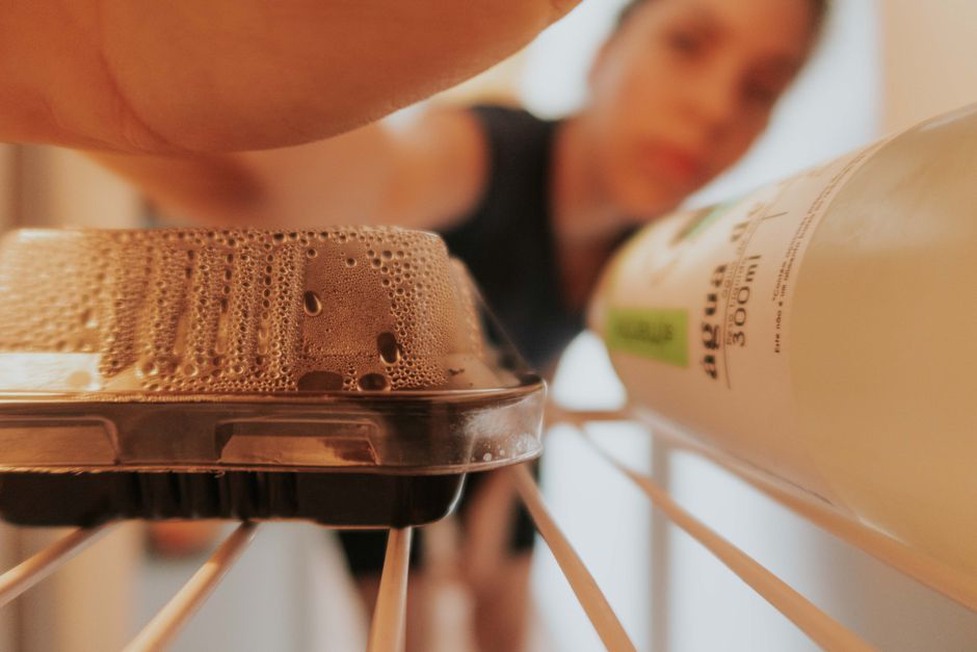
Decide what to keep, use, freeze or discard
A date approaching doesn’t automatically mean food belongs in the bin. Keep properly stored food with plenty of useful life left. Use soon food that is safe but likely to lose quality before the next check. Freeze suitable food you cannot realistically eat in time. Discard food that is spoiled, contaminated or outside a safe storage window. If you cannot establish when a high-risk leftover was prepared, don’t judge its safety by appearance.
Understand dates without relying on them alone
“Best before” generally refers to quality, while “use by” is a safety-related instruction where those terms are used. Wording and legal meanings vary by location, so follow the package and local food-safety guidance. Once a product is opened, its printed date may be less useful than a shorter storage period specified on the package. Write the opening date on foods you often lose track of, such as deli items, sauces that require refrigeration and soft cheeses.
Storage history matters too. Food left at room temperature too long does not become safe again when returned to the fridge. Discard a container with visible mold, an off smell or other signs of spoilage rather than cutting away the affected part, unless reliable guidance says that is safe for that particular food. Harmful bacteria do not always change a food’s smell or appearance, so sensory checks cannot replace safe handling and time limits.
Give leftovers a reliable clock
“We made it earlier this week” is rarely precise enough to date a leftover. Label cooked food with its preparation date when it goes into the fridge, using a washable marker, tape or a note on the container. Refrigerate perishable leftovers promptly in shallow containers so they cool efficiently. As a general guide, many cooked leftovers should be eaten within three to four days when properly refrigerated; follow more specific guidance where it applies.
Include the name of the food. “Soup, Monday” tells you more than “Monday” on an opaque tub. If several people cook, agree on a date format so the month and day cannot be confused. When the safe window is nearly over, freeze the food instead of postponing the meal again—provided it has been handled safely so far.
Turn the findings into the next few meals
A tidy fridge alone won’t prevent waste; the check needs to change what you cook or buy. Make a short use-first list with quantities: “half a bag of spinach,” “two cooked potatoes,” “one portion of chicken.” Check the cupboards and freezer before choosing meals, then assign urgent food to specific meals or preparation tasks over the next day or two.
Start with the item that has the least time left. Spinach nearing the end of its useful life could go into an omelet today; a firm cabbage can wait. Cooked vegetables might become a lunch filling, and a half-used tub of yogurt could be breakfast. Flexibility is useful, but it is no reason to combine ingredients whose storage histories are uncertain.
Write the shopping list after making those assignments. If dinner will use the spinach and remaining potatoes, you may need only an egg or another protein rather than a new set of vegetables. If what’s on hand cannot make a practical meal, buy the missing ingredient intentionally. Match the list to actual portions, or the weekly check won’t change your purchasing.
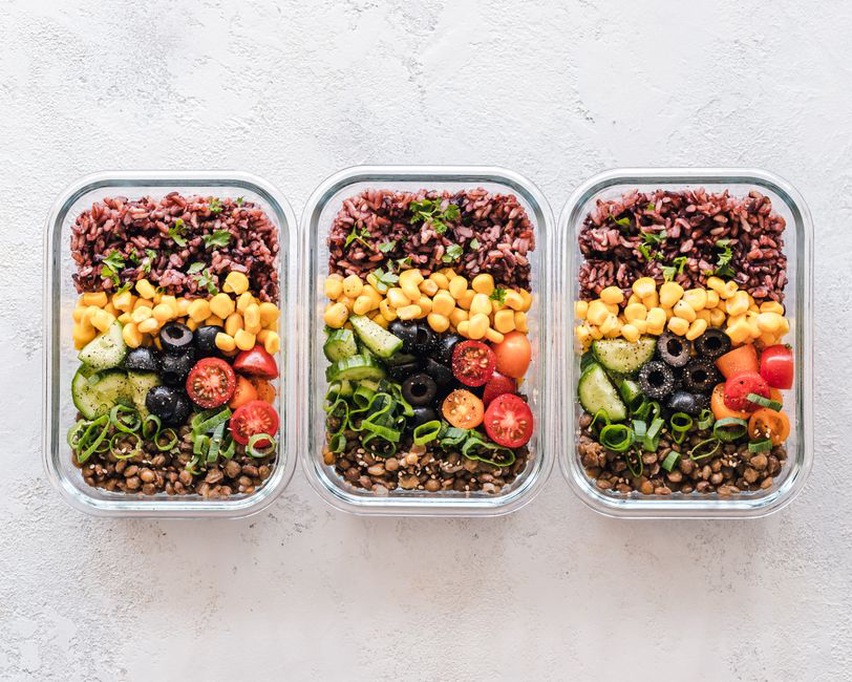
Freeze food before its useful window closes
Freezing pauses the clock on food that is still safe; it cannot rescue food that has spoiled. Decide what to freeze during the check, while you can identify it and assess its condition. Divide it into portions you’ll use, package it to limit air exposure, and label the contents and freezing date. If your household rarely finishes a whole pot of soup at once, two or three meal-sized portions will be easier to use.
Quality after thawing depends on the food. Cooked dishes and many breads often freeze well; crisp raw vegetables may soften and work better in cooked dishes afterward. Check food-specific advice when you’re unsure. Thaw perishable food in the refrigerator or by another recognized safe method, not on the counter, and use it promptly according to applicable guidance.
Look in the freezer before adding more. If older portions are waiting, schedule one of those first. Otherwise, freezing may simply move the waste to another compartment. Keep the inventory easy to update; a note with contents and quantities is enough for many households.
Arrange shelves for visibility and safety
Place safe food that needs using near the front, with labels facing out. Put newer purchases behind older equivalents when their storage requirements are the same. “Older first” is a reminder, not a reason to eat food past a safe limit. Avoid stacking opaque containers so high that the lower ones disappear.
Use drawers according to the fridge’s design and the needs of the produce inside. Keep produce clear of leaking raw-food packages, and don’t seal wet items into containers where moisture will hasten deterioration. The check helps you notice changes and make a plan; storage needs still depend on the item and the refrigerator.
The door is convenient but often sees more temperature variation as it opens. Follow appliance and package guidance for foods needing the coldest, most stable storage. If the back of a shelf repeatedly hides food, change the layout: shorten the row of containers or move frequently used items so you can see behind them.
Use the waste pattern to buy more accurately
For two or three weeks, jot down what you discard and why. “Half a bag of greens—no meal planned” is more useful than a detailed spreadsheet nobody updates. Distinguish food that spoiled before use from food cooked in excess. Unused greens may call for a smaller purchase or an earlier meal; repeated leftover pasta may mean cooking fewer portions.
Record the constraints as well. A busy week can leave batch-cooked meals uneaten, while limited freezer space restricts what you can save. If household members eat at different times, smaller labelled portions may be easier to use than one large container. Change one purchasing or cooking habit at a time, then check whether the same waste appears again.
Keep the check manageable when plans change
Choose a regular day near your shopping trip, but don’t wait for it when the fridge is unusually full after a gathering or a change of plans. A quick midweek look at labelled leftovers can catch food prepared just after the main check. Keep the routine simple enough to spare decisions later rather than create another tracking chore.
Suppose Sunday’s check turns up two portions of cooked beans labelled Thursday, a small bag of salad leaves and an unopened carton of milk. Check the beans’ storage history and applicable leftover guidance. If they are still within a safe window, plan them for Sunday lunch rather than Wednesday dinner, with the salad if it is sound. Before adding milk to the shopping list, check whether the carton’s quantity and date will cover the time until your next shop.