A bath mat can slide just as someone steps out of the shower. Check that its backing grips the floor when damp, and replace it if the backing is worn or the edges curl. A mat that stays put matters more than one that simply feels soft underfoot.
Bathroom conditions change with use. Water reaches the floor, soap film builds up, fasteners loosen, and fittings begin to leak. A brief, regular check can catch these problems before they lead to a fall or concealed water damage. It cannot replace repairs to a failing floor, properly supported grab bars, or assessment of faulty electrical equipment by a qualified person.
Keep walking surfaces dry and predictable
After a shower, look at where the water lands. A curtain hanging outside the tub, a poorly seated shower-door seal, or spray from a handheld shower can leave the same strip of floor wet each time. Reposition the curtain or shower head first; replace a worn seal if it is the source. Wipe up standing water rather than waiting for it to evaporate.
Clean the floor and shower base with a product suitable for their materials. Follow the directions and rinse away residue: soap and cleaning-product buildup can make a surface slippery even when it looks clean. Do not combine cleaners, particularly bleach-containing products with acids or ammonia. If the floor remains slick after cleaning, has loose tiles, or slopes enough to leave persistent puddles, it needs repair—not another mat.
Keep the route to the toilet, sink, and shower free of bins, cords, and stored supplies. Check that each mat lies flat and stays in place under a light foot test. Adhesive strips and nonslip treatments must suit the surface and be maintained according to their instructions; peeling edges create a trip point.
Check supports before anyone relies on them
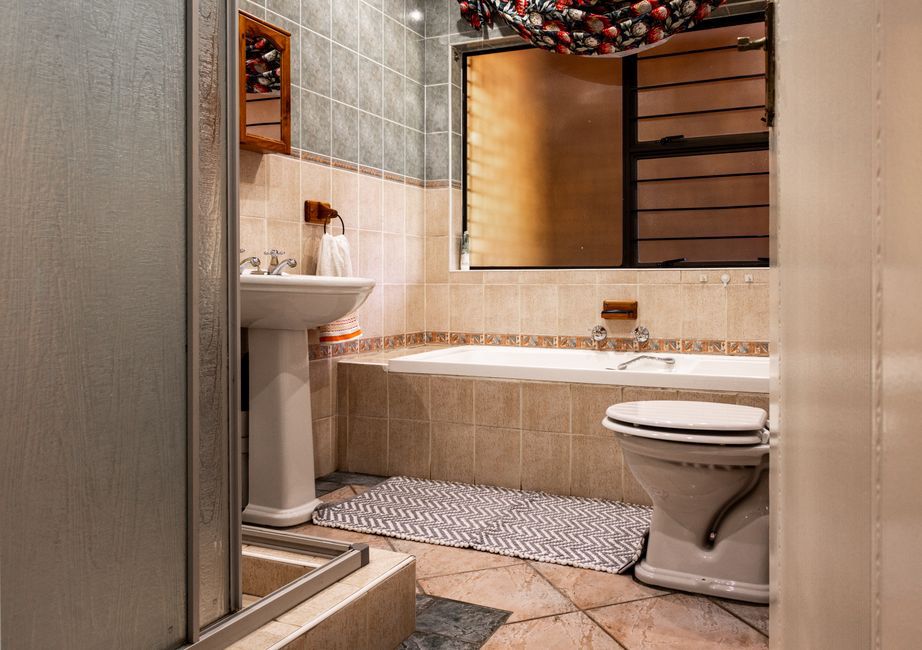
A towel bar may look sturdy, but it is not necessarily designed to bear a person's weight. Do not use it as a handhold. For an installed grab bar, check for movement at the mounting points, corrosion, cracked tile, or soft wall material. If it moves, stop relying on it and arrange a repair that addresses the fixing behind the wall, not just the visible screw cover. A new grab bar needs appropriate support behind the finished wall, with penetrations in wet areas carefully treated.
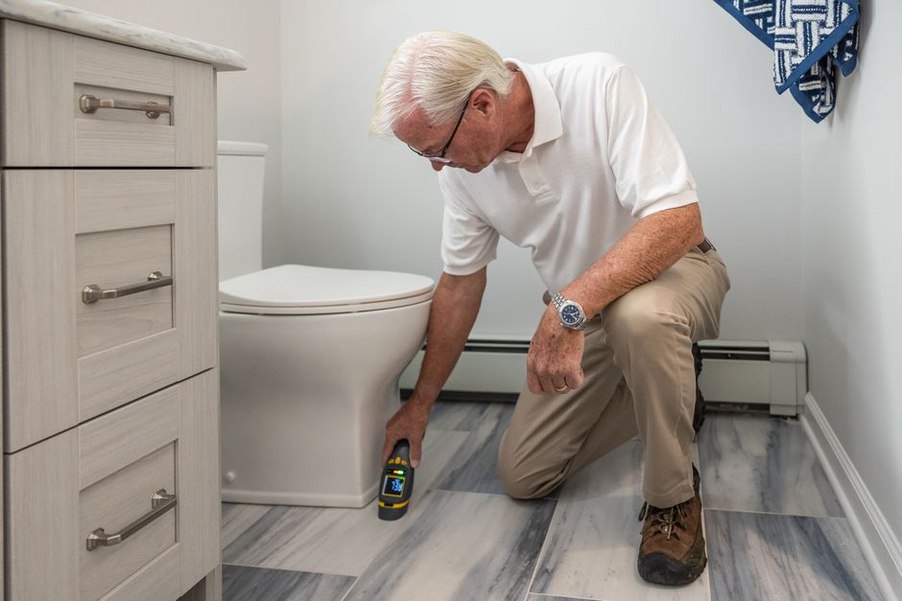
Check the toilet for rocking without forcing it. Movement may point to loose fasteners or a problem at the floor connection, and it can compromise the seal beneath the fixture. Dampness near the base, staining, or a persistent odor also warrants investigation. Repeatedly tightening the bolts can damage the porcelain without resolving hidden water damage.
Give doors and storage a quick functional check
- Doors: Check that the bathroom door opens and closes freely and that its latch works. A swollen door or sticking latch can make access difficult if someone needs help.
- Cabinets: Tighten loose handles and repair drawers that drop or jam. Keep frequently used items within reach without climbing or stretching across a wet floor.
- Shower fittings: Check that the shower-door handle, rollers, and hinges are secure. Broken glass, severe misalignment, or a door that could come off its track needs professional attention.
Find small leaks while they are still small
Clear enough space under the sink to see the pipes. Look for droplets at joints, damp shelving, stains, swelling, or a musty smell. Run hot and cold water, then check again, including around the drain connection. A dry tissue held briefly beneath a suspected joint can help reveal an active drip; remove it afterward so it does not sit against a wet surface.
Check around the tub, shower, toilet supply line, and faucet base. A dripping faucet wastes water, but moisture entering a wall or floor is more urgent. Know where the fixture shutoff valves are, if present, and keep them accessible. If a valve is seized, a connection is corroded, or water appears to be entering the building fabric, call a plumber rather than forcing the valve or sealing over the symptom.
Caulk at the tub or shower edge helps keep routine splashes out of joints. Look for gaps, detachment, and persistent darkening. Before replacing failed caulk, identify and correct any leak behind the fixture. Then clean and dry the joint, use a sealant suited to the location, and allow the specified curing time. Grout, caulk, and tile cannot repair damaged waterproofing beneath them.
Control moisture without overlooking ventilation
A working exhaust fan removes humid air and reduces condensation on walls and ceilings. Check that it starts, runs without unusual noise, and has a clean, unobstructed grille. Dust on a reachable grille can usually be removed with the power off, following the manufacturer's instructions. Noise does not mean the fan is ventilating effectively; a blocked or disconnected duct needs inspection. Where safe and practical, leave the fan running after bathing until visible condensation begins to clear.
Recurring damp patches, peeling paint, soft materials, or mold that returns soon after cleaning may point to a leak or inadequate ventilation. Address the moisture source first. Extensive mold, damaged materials, or water near electrical fittings calls for appropriate professional assessment rather than a surface-only cleanup.
Test lighting and electrical protection
Replace failed lamps promptly so the floor, tub edge, and doorway remain visible. Turn off power before changing a lamp, use one suitable for the fixture, and leave damaged fittings to a qualified electrician. Check for cracked switch plates, loose outlets, scorch marks, and lights that flicker repeatedly. Keep portable electrical devices and their cords away from water.
If the bathroom has a ground-fault circuit interrupter, use its test and reset buttons as the manufacturer directs. If it will not trip or reset correctly, arrange electrical service; do not assume the outlet remains protected. Electrical protection requirements vary by location and installation age, and testing one device does not establish that the entire bathroom installation is compliant.
Make the check repeatable
After bathing, check the floor, wipe up water, make sure mats lie flat, and notice any new movement in fixtures. Periodically, run water while checking visible connections, examine seals, clean the fan grille, and test installed electrical protection according to its instructions. Note the location and date of any persistent drip or damp patch so a repairer can distinguish a recurring fault from a one-time spill.
Use a flashlight when checking beneath the sink. Look into the back corners as well as at the pipes: a swollen cabinet panel there may reveal moisture long before a puddle reaches the bathroom floor.