
A pot without drainage holes can turn careful watering into a root problem. Excess water has nowhere to go, so the growing mix stays wet. Before buying plants, check the containers, the light at the intended spot and where runoff will go. Those basics matter more than an elaborate planting plan.
1. Check the site before choosing plants
Watch the spot over a normal day. When does it get direct sun, and when do walls or railings put it in shade? A label calling for full sun generally means several hours of direct light, not just a bright-looking area. Leafy greens and some herbs tolerate less sun than fruiting crops such as tomatoes and peppers, which usually need a reliably sunny position.
Consider exposure as well. Balconies can be windy, while sheltered corners may get little rain even during a storm. Leave room to reach every pot for watering and inspection. If runoff could drip onto people or neighboring property, use a suitable saucer or tray, then empty it so the pot does not sit in water.
Check structural limits before placing heavy containers on a balcony, deck or raised platform. Moist mix, plants, pots and retained water all add weight. A surface that supports people is not necessarily suitable for large planters. Follow building rules and seek qualified advice if the allowable load is unclear; avoid grouping several heavy pots in one small area.
2. Start with a short plant list
Choose two or three plants suited to the site’s light and temperature. That makes watering and troubleshooting easier. Parsley, chives, loose-leaf lettuce in suitable weather, and compact varieties bred for containers are practical starting points. Basil likes warmth and good light; cool-season greens may struggle in a hot, exposed spot. Check seed packets or plant labels for mature size and season rather than judging by a young transplant.
Plants with similar watering needs can share a container if each mature root system has enough room. Mint is usually easier to manage in its own pot because it spreads vigorously. Pairing a large, thirsty crop with a small drought-tolerant herb makes watering harder for both.
3. Match the pot to the plant and location
Choose a pot with drainage holes and enough depth and volume for the plant to grow. Small pots dry quickly and restrict roots. Larger ones hold moisture more steadily but weigh more. A tomato generally needs much more root space than a single small herb. Follow container guidance for the variety where available, and consider a little extra capacity in a hot or windy spot.
Pot material changes how often you may need to water. Moisture evaporates through unglazed terracotta; plastic retains it longer and is often lighter. Fabric planters drain freely but can dry quickly, especially along exposed sides. Whatever you choose, make sure the pot is stable in wind and does not block a walkway or exit.
A decorative outer pot without holes can hold a smaller draining pot. Lift the inner pot out to water it, or pour away the collected runoff afterward. Stones in the bottom are no substitute for drainage holes: they do not give excess water a way out.
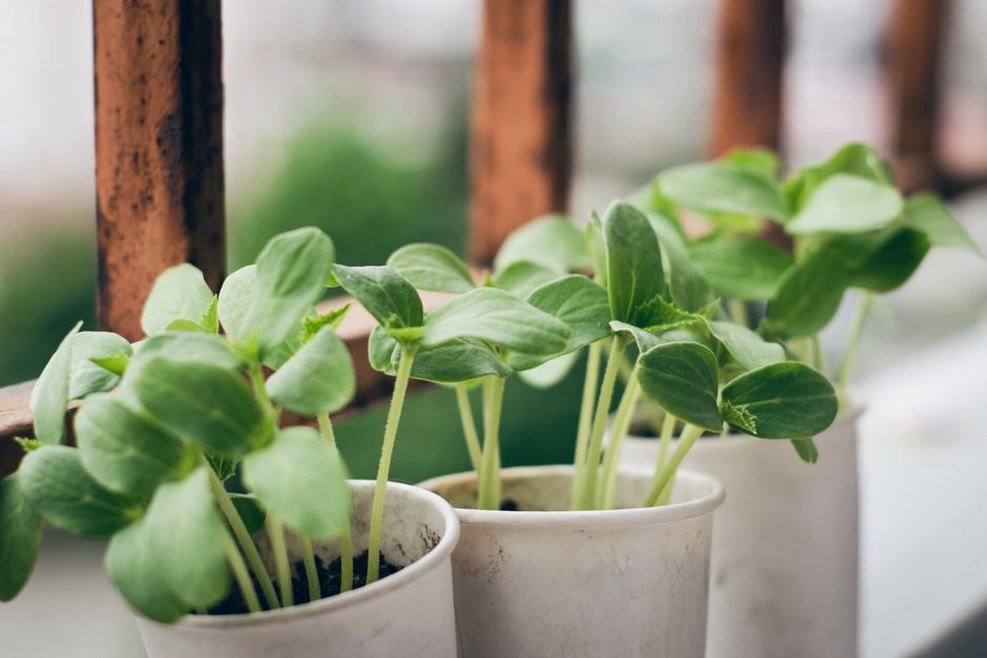
4. Use growing mix, not soil dug from the ground
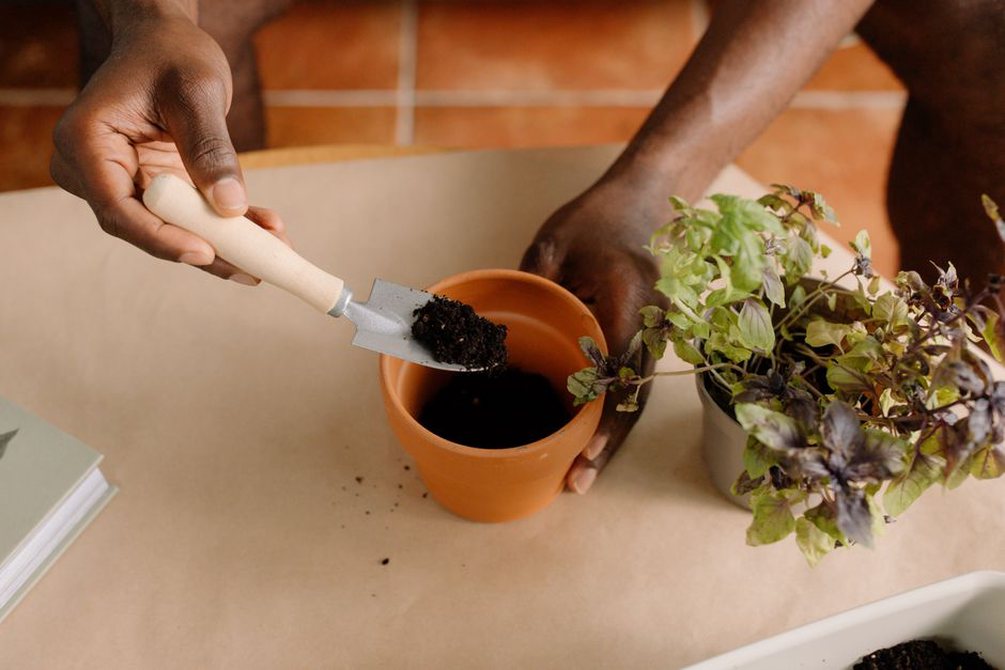
Use potting mix intended for containers. It holds some moisture while leaving air spaces around roots. Garden soil may compact in a pot, drain poorly and add unnecessary weight. If the mix is very dry, moisten it gradually before planting so water does not run around it and straight out the bottom.
Leave a small gap below the rim to give water time to soak in rather than spill over. Settle the mix gently around roots instead of packing it tight, then water after planting. If it settles later, top it up without burying stems deeper than the planting instructions allow.
5. Plant at a sensible spacing
Ease transplants out of their nursery pots without pulling on the stems. If the roots circle tightly, gently tease the outer roots apart. Set most transplants at roughly their nursery-pot depth, following crop-specific guidance where it differs. Firm the mix lightly and water until excess begins to drain.
For seeds, follow the packet’s sowing depth and spacing. Seeds buried too deeply may not emerge; crowded seedlings compete for light and water. Once seedlings are established, thin extras by snipping them at the surface so neighboring roots stay undisturbed. If cold nights are still likely, check the crop’s temperature needs before moving tender seedlings outdoors.
6. Establish a watering check, not a rigid schedule
Moisture changes with plant size, weather, pot material and sun exposure. Feel the mix below the surface instead of watering every pot automatically each morning. If the upper layer is dry and the pot feels light, water slowly across the surface until some drains out. If the mix is still damp where the roots are growing, wait and check again. Newly sown seeds need gentler watering: keep the seed zone evenly moist without washing seeds away.
Water the mix rather than routinely wetting the leaves, and let the pot drain. A saucer can catch runoff, but empty it afterward. Persistent wilting does not always mean a plant needs more water. Check the mix first; a pot that stays wet may have blocked holes, unsuitable mix or damaged roots.
7. Feed modestly and inspect regularly
Many potting mixes contain starter nutrients, but container plants eventually use them up. Check the mix label, then follow the directions for a fertilizer suitable for the crop. Too much can damage roots, and fertilizer will not fix inadequate light or chronic overwatering. For edible plants, use products labeled for that purpose.
Once or twice a week, check beneath leaves and around stems for insects, damaged tissue and new growth. Remove dead material, harvest herbs without stripping the whole plant, and support tall crops before they begin to lean. If a plant deteriorates, check light and moisture before adding treatments. You can isolate an affected pot while you identify the problem to help prevent pests moving to nearby plants.
A first-week checklist
- Record the hours of direct sun at the intended location.
- Confirm drainage, runoff control and a safe place for filled pots.
- Choose a few plants suited to the light, season and available space.
- Use appropriately sized containers and fresh container potting mix.
- Plant at the recommended depth, leave room for growth and water in.
- Check moisture below the surface each day until you know how quickly each pot dries.
Note the planting dates and what your moisture checks show during the first week. If one pot is still damp when another is dry, water them separately next time instead of giving both the same amount.