
Dust on an accessible refrigerator condenser grille can make it harder for the appliance to shed heat. Cleaning it may reduce strain on the cooling system, but only if the manufacturer calls for it and the grille can be reached safely. The same practical approach applies elsewhere: keep air and water paths clear, remove residue, and investigate leaks or unusual operation before they cause more damage.
Maintenance cannot restore a failing component, and procedures differ by model. Check the manual for filter locations, cleaning methods and access panels. Unplug an appliance before cleaning exposed electrical or mechanical areas. Leave gas-line work to a qualified professional, and stop if a task requires opening a sealed or electrical section beyond the user-serviceable parts.
Start with tasks that prevent heat, moisture and blockage
Restricted airflow puts motors and cooling systems under less favorable conditions. Standing water can corrode parts or damage cabinets and floors. Residue can clog pumps, sprayers and sensors or interfere with seals. Cleaning is a good time to check for these problems before the appliance stops working.
- Look: Check for water beneath equipment, lint around vents, damaged cords, loose hoses and residue around door seals.
- Listen: Pay attention to new grinding, rattling or repeated start-stop cycles instead of dismissing them as normal aging.
- Compare: Notice if drying takes longer, dishes stay dirty in one area, or a refrigerator struggles to hold its usual temperature.
- Respond: Clean accessible parts first. If a symptom persists or suggests an electrical, gas or refrigerant fault, arrange service.
Set inspection intervals by conditions rather than following a calendar blindly. Pets may mean exposed air inlets need checking more often. An appliance used only occasionally can still develop a brittle hose or damp seal, so low operating hours are no reason to skip a visual check.
Refrigerators and freezers: protect airflow and seals
Keep packages clear of internal air outlets. Cold air needs room to circulate between compartments and around stored food; tightly packed shelves can leave warm pockets and make temperature control less predictable. Keep hot food away from temperature sensors, and make sure containers do not hold the door open.
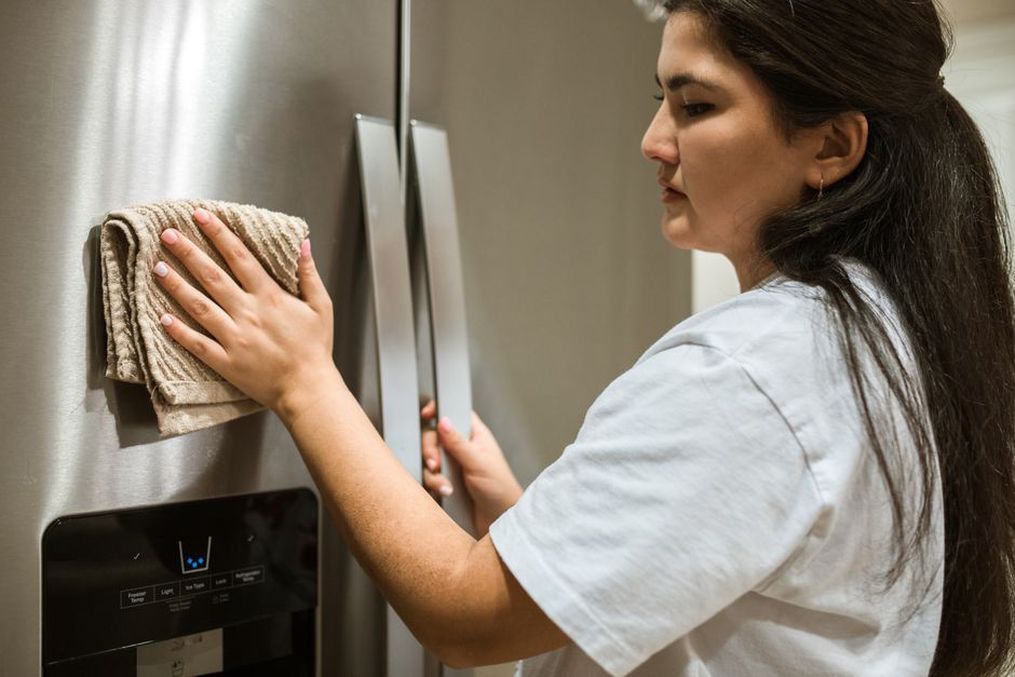
Wipe crumbs and sticky spills from door gaskets with a soft cloth and a mild cleaner approved for the surface, then dry the seal. Look for tears, hardened sections or gaps where the gasket no longer meets the cabinet. Closing the door on a strip of paper can reveal an unusually loose spot, though it is not a definitive test: hinge alignment, shelf contents and door shape also affect contact. Replace a damaged gasket according to the model’s instructions rather than forcing the door to compensate.
Some refrigerators have accessible condenser coils or dust-collecting grilles; others do not call for user cleaning. If the manual specifies it, switch off and unplug the unit, use the recommended brush or vacuum attachment, and take care not to bend tubing or pull wires. Refit the grille before restarting. In a tight recess, check that the cabinet still has the clearance its ventilation path requires.
For a water dispenser or ice maker, replace the filter on the manufacturer’s schedule or when usage and water quality call for it. Use a compatible filter and follow the flushing instructions. Check the supply connection too: a slow leak behind a refrigerator can stay hidden until it damages the floor or wall.
Laundry machines: remove residue without damaging seals
Washing machines
Excess detergent can leave deposits in the dispenser, drum and drain path. Measure it for the load, its concentration and local water conditions rather than assuming a full cap is right. Use detergent compatible with the washer, especially if a high-efficiency model requires a low-sudsing product.
Wipe the door gasket and dispenser when they hold water or residue. On a front-loader, check the gasket folds for small items before drying them. Where the manual permits and it is safe for the household, leave the door and dispenser slightly open between loads so moisture can evaporate. Run the recommended cleaning cycle at the specified interval. Do not mix cleaning chemicals or use an aggressive descaler without checking compatibility.
If the washer has a user-accessible drain-pump filter, the manual should show where it is and how to drain residual water before opening it. Set out a shallow tray and towels, then remove lint or small objects without forcing the housing. Do not dismantle the pump area to search for a filter the manual does not identify as user-serviceable.
Inspect visible supply hoses and connections for bulging, cracks, corrosion or dampness. Make sure the drain hose is secured and not kinked. If a connection leaks, shut off the water and seek repair; tightening a fitting harder can damage it. Replace a suspect hose with one suitable for the appliance and installation rather than waiting for it to rupture.
Clothes dryers
Remove lint from the screen after each load. Fabric-softener residue can also block its mesh. Hold the screen up to light or, if the manual allows it, run water over it: pooling water may indicate a film that needs gentle washing. Let the screen dry completely before putting it back.
Inspect the full exhaust route as well. A crushed flexible duct, lint-filled vent or blocked outdoor hood restricts airflow, lengthens drying time and can increase fire risk. Clean the duct at an interval suited to its configuration and use, and check that the outdoor termination opens freely. Follow the dryer and local installation requirements for duct material and routing; do not improvise a replacement hose. Stop using a dryer that overheats, shuts off repeatedly or smells of burning until the fault is assessed. A clean lint screen does not mean the rest of the exhaust path is clear.
Dishwashers: keep the wash and drain paths open
Scrape off large food pieces, but check the dishwasher and detergent instructions before pre-rinsing every dish. If the model has a removable filter, lift it out as directed, rinse away trapped debris and seat it securely again. A loose filter can let debris into the circulation system.
Make sure the spray arms rotate freely. A tall tray can stop an arm; a seed or food fragment can redirect a jet. Clear accessible holes gently with a tool the manufacturer recommends, without enlarging them. Wipe the door-edge seal and the area beneath the lower door lip, where residue tends to collect.
Standing water after a cycle is not the same as the small amount some models retain in the sump. If water reaches the tub floor or an error appears, check the user-accessible filter and look for a visibly kinked drain hose. Persistent drainage trouble needs service, not repeated cycles that could overflow. A door leak can also result from overloading, a blocked spray arm or excess suds rather than a faulty gasket.
Ovens, cooktops and range hoods: control grease and heat
Clean spills once the cooking surface has cooled, using a method suitable for its finish. Burned-on residue can interfere with burner openings and become harder to remove from an oven. After cleaning a gas cooktop, seat removable burner parts correctly and let them dry completely before use. Do not probe gas orifices, alter burner parts or attempt to repair a gas connection.
Range-hood grease filters collect residue even when the fan sounds normal. Wash reusable filters as directed and replace disposable ones. On a recirculating model, check the instructions for charcoal-filter replacement. Grease on the hood or nearby cabinets may mean the filters need attention; it can also indicate poor airflow or a blocked duct that needs investigation.
Keep oven door seals intact and free of heavy deposits. Avoid soaking controls or spraying cleaner into vents. For a self-cleaning cycle, follow the manufacturer’s directions, remove anything it identifies as unsuitable and provide the recommended ventilation. If an oven smells of gas, sparks at a control or trips a breaker, have it assessed professionally instead of running another cleaning cycle.
Small appliances: maintain the parts people overlook
Empty a toaster’s crumb tray regularly once the appliance is cool and unplugged. Crumbs can char and obstruct the tray; never put a metal utensil into a plugged-in toaster. Descale kettles and coffee makers only by the manufacturer’s method, at a frequency suited to water hardness and use, and rinse thoroughly afterward. Wash and dry reservoirs, lid gaskets and removable brew parts as instructed if they stay wet between uses.
A vacuum cleaner needs unobstructed airflow. Empty the bin before it reaches the marked limit, check accessible hoses for blockages, and remove hair from the brush roll with the machine unplugged. Clean or replace filters according to their type; some are not washable, and reinstalling a damp filter can damage the machine. If suction remains weak despite a clear bin, look for a blockage or loaded filter. Stop immediately if you notice a hot electrical smell.
Know when cleaning is not enough
Routine care covers accessible filters, surfaces and vents, plus visual hose checks. Live electrical testing, refrigerant work, gas repairs and internal component replacement belong to people qualified for those tasks. Even unplugged equipment can contain components that retain an electrical charge. Never bypass a door switch, thermal cutoff or other safety device to keep an appliance running.
Before requesting service, record the model number, symptom and what you observed. “Dryer needs two cycles, lint screen is clean, outdoor vent flap barely opens” gives a technician more to work with than “dryer broken.” Keep receipts or brief notes of filter changes and hose inspections if they matter for a warranty or property record. After cleaning a removable filter, check that its housing is dry and the filter locks fully into place before restarting the appliance.