
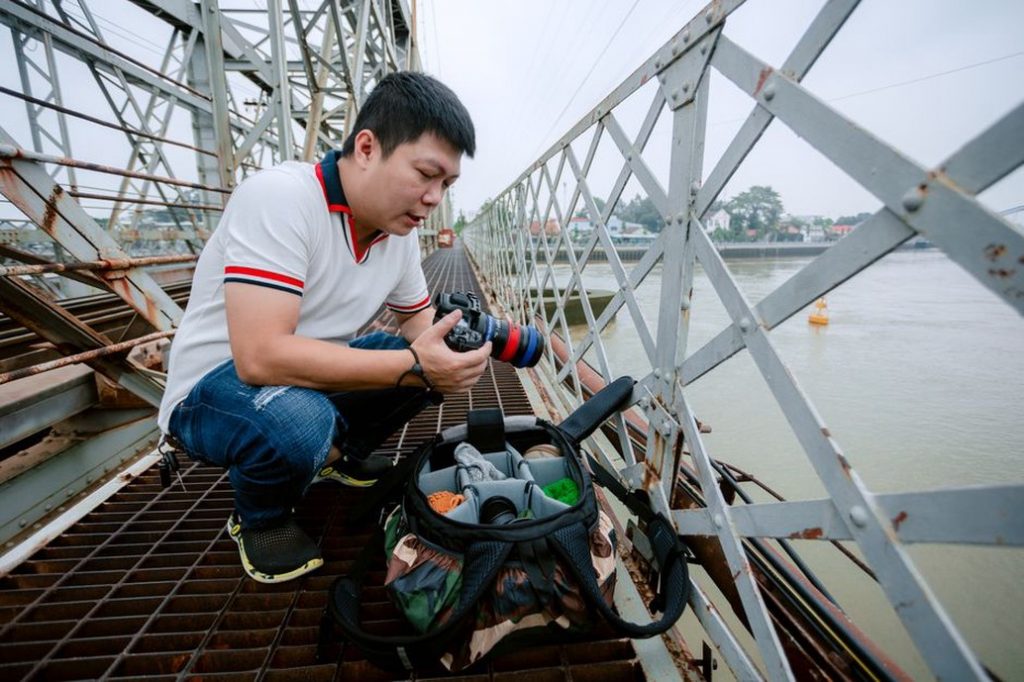
IMG_4827.jpg tells you little when a bridge inspection has produced 300 similar files. To be useful later, a photograph must stay connected to its location, date, subject and inspection context. Without that information, even a clear image may be unsuitable for comparing defects across visits or supporting a maintenance decision.
The goal is a repeatable route from camera or phone to a protected archive, with report images still easy to retrieve. The same basic approach can help with smaller collections, but project records demand closer attention to provenance, permissions and retention.
Decide what the collection must answer
Before changing filenames, think about the questions someone may need to answer later. Which culvert is this? Is the crack on the upstream or downstream face? Was the photograph taken before or after repairs? Who took it, and is there a wider view? Those questions determine what information needs to stay with the files.
Keep three kinds of image distinct. Original captures preserve what came from the device. Working copies may be rotated, cropped, annotated or compressed for analysis. Published selections go into reports or presentations. This distinction helps prevent an annotated image from being mistaken for an unaltered capture. If photographs form part of a contractual, regulatory or investigative record, follow the organization’s approved retention and evidence-handling procedures; a personal filing convention is not enough.
Gather files without losing context
Set up a temporary intake area for each visit or source before reorganizing the master archive. Copy files into it from devices and shared channels rather than moving the only copy. Keep field notes, inspection forms, device exports and permission records with the batch until you know how they relate to the photographs.
Inventory the sources. One visit might include phone photographs, camera images, drone captures and pictures sent by a colleague. Their clocks, location settings and naming patterns may differ. Record the photographer, device and visit identifier where known. Check timestamps rather than assuming they are correct: device clocks can be wrong, and forwarding files through messaging services may strip metadata.
- Confirm that every expected device or contributor is represented.
- Count the imported files and note unreadable or unsupported formats.
- Keep video and still photographs together at intake; separate them later if the archive requires it.
- Preserve received originals while checking duplicates and discrepancies.
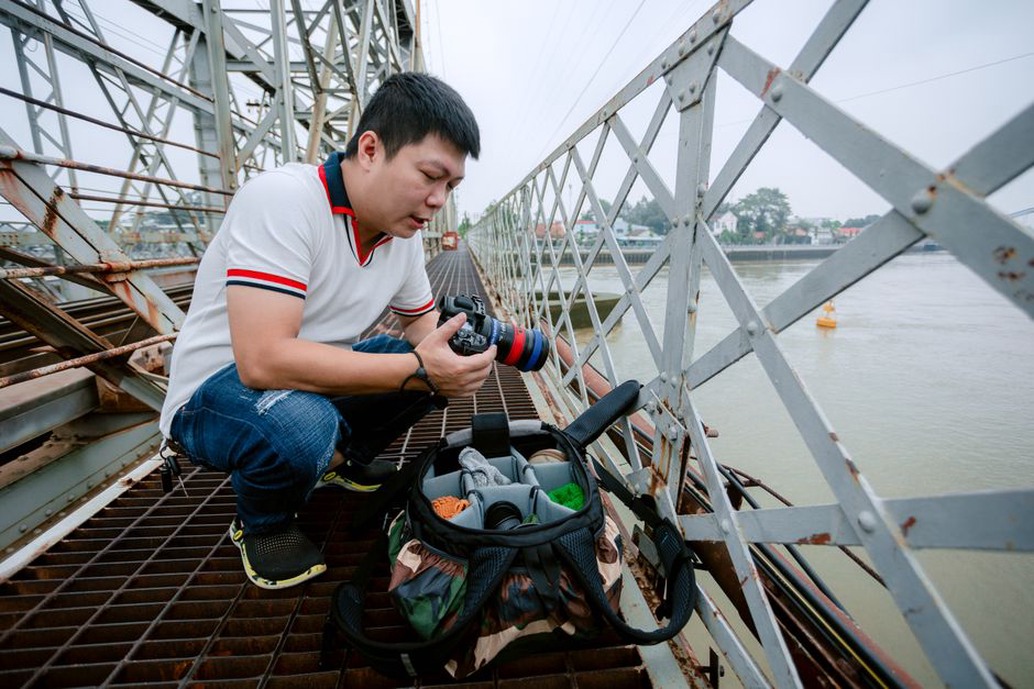
Build a folder structure that survives staff changes
Use a few stable folder levels. One workable project pattern is asset or project → visit date and purpose → originals, working, deliverables. For example: BR-014/2026-04-17_routine-inspection/originals. The asset code avoids reliance on an informal nickname; the date separates visits; and the purpose distinguishes routine inspection from repair work.
A hierarchy should not be so deep that staff have to guess where a file belongs. Nor should “miscellaneous” become the default for uncertain images. Put unresolved files in a named review area and note what is unknown. Once identified, move them to the appropriate visit folder, retaining relevant source information.
Some teams organize by date first; others start with the asset or project. Either works if the convention is documented and used consistently. Across multiple projects, align identifiers with the organization’s asset register. If a photograph relates to two assets, use metadata, a catalog or a documented cross-reference rather than keeping separately edited copies with no clear common source.
Use filenames for identification, not the whole inspection report
A filename should make sense outside its folder, but it need not carry every observation. A practical pattern is asset_date_location_subject_sequence.ext: BR-014_2026-04-17_P2-north_bearing_003.jpg. Define abbreviations in a short project guide, particularly those for pier numbers, directions and components. Format dates consistently so files sort predictably, and keep the original extension.
Batch renaming saves time; check a sample of the proposed names before applying them. If several cameras were used, sequence numbers may collide. Add a source identifier or use a renaming process that checks for duplicate names. Where traceability matters, keep a record connecting new filenames to camera-original names. Do not discard the only link to field notes that use the old names.
What belongs in metadata instead?
Put longer observations in an inspection form, catalog or metadata fields. Useful entries include asset ID, component, orientation, visit date, photographer, defect identifier and a concise description. “East abutment, drainage outlet, view toward carriageway” is more useful than “problem area.” Agreeing on terms also improves retrieval: a search for “joint” may miss files labeled “expansion gap.”
GPS coordinates can help, but they do not identify a component on their own. Readings may be imprecise near large structures, underground or under cover. Check them against field notes before relying on them. For sensitive sites, decide whether copies released outside the organization should retain location metadata.
Review duplicates and quality without erasing the record
Duplicate-finding tools can compare file contents to identify identical files. They may also flag visually similar photographs. Review those candidates: near-identical views can differ in lighting, scale markers or stage of work. A camera original and a smaller messaging-app copy are not interchangeable just because they show the same scene.
Keep enough coverage at each inspection location to show both context and detail. Where available, pair a close-up of a crack with a wider view that establishes the component and orientation. Mark blurred, obstructed or poorly exposed photographs as unsuitable for particular uses rather than quietly removing images that may belong to an official record. Apply the relevant records policy to deletion decisions.

Protect originals and make edits visible
Store untouched captures where routine users cannot accidentally overwrite them. Edit copies, and record material changes in the file or accompanying documentation. Rotation and exposure adjustments may make a defect easier to see; crops, arrows and labels can clarify a report. The altered view should still be identifiable as an edit. Retain the original when the image supports an engineering observation.
Backups need to cover more than laptop failure. Keep a primary archive and a separate backup, plus a copy at another location where organizational policy permits. Set a schedule and test restoration: retrieve a sample folder and open its files. Synchronization alone is not necessarily a backup, since deletion or corruption can spread to every synchronized device. Limit editing privileges, use approved storage for sensitive material and remove access when team roles change.
Create a retrieval habit for repeat inspections
Use the same asset and component identifiers across visits, and record viewing direction when it affects interpretation. A before-and-after pair is useful only if it shows comparable surfaces and conditions. Before judging whether a defect has grown, check the scale, angle and image quality of both views.
For large collections, an index can hold details that folders cannot. A table or approved asset-management system might record the filename, asset ID, visit, component, view direction, photographer, brief description and link to the stored original. Pick something the team will maintain. A modest index updated after every visit is more useful than a complex catalog with empty fields.
Make photo processing part of field-visit closeout. Assign someone to import files, reconcile them with notes, identify unresolved locations and confirm the backup. A short handover should flag gaps—an inaccessible bearing, for example, or a camera clock found to be incorrect—while the visit is still fresh.
Keep the workflow small enough to repeat
- Copy new photographs into a dated intake folder and verify the file count.
- Preserve originals; record source devices, contributors and known clock issues.
- Sort by asset and visit, then apply the agreed filename pattern without collisions.
- Add component descriptions and cross-reference inspection notes.
- Review duplicates and quality, retaining records in line with policy.
- Back up the archive and test access to a sample of the stored files.
Before closing out a newly imported visit, choose one photograph at random. Find its original, identify the component through its filename or index, locate the related field note and open the backup copy. If one of those checks fails, fix the intake batch before the next inspection team has to rely on it.