
A dry surface is not proof that a houseplant needs water. The mix farther down may still be wet, especially in a large pot or a cool room. Press a finger into the soil to the first knuckle and lift the pot if you can. Moisture below the surface, pot weight and the plant’s condition tell you more than a fixed watering day.
Start with the plant’s growing conditions
A cactus adapted to dry conditions and a fern that prefers consistently moist soil need different watering routines. Keep the plant label, if you have it, and check the plant’s broad requirements for light, moisture and temperature. Then see how quickly the pot dries in your room. Heating, seasonal daylight and pot size can all change the timing.
Start with a manageable number of plants; it’s easier to notice what each one needs. Before bringing a plant home, check whether it is toxic to pets or children who might chew its leaves. Give it appropriate light without blocking a walkway or placing it against a heater. Extra water or fertilizer will not make up for a poor location.
Read the light before moving the plant
“Bright indirect light” usually means a well-lit spot where the leaves are not exposed to prolonged direct sun. Some plants tolerate direct light; others scorch, particularly if moved suddenly from shade to a sunny window. A room that looks bright to you may still provide too little light for strong growth.
Watch for changes over several weeks. Small new leaves or growth stretching toward the window may signal too little light. Pale or scorched patches on leaves facing the glass may point to too much direct sun, though other problems can cause damage too. Move the plant gradually and give it time to respond rather than shifting it every day. You can rotate a pot occasionally if growth leans to one side, but leave climbing plants attached to their supports undisturbed.

Water the soil, not the calendar
Pick a regular day to check your plants, but don’t water automatically. Put a finger into the mix or use a clean wooden skewer to check for damp soil below the surface. For a plant that prefers to dry between waterings, wait until the appropriate depth feels dry. Check plants that need more even moisture before the entire root zone dries out. Species guidance helps you decide how dry the mix should get; checking the pot tells you when it has reached that point.
When it is time to water, pour slowly across the soil surface until some water drains from the bottom. Let the pot finish draining, then empty the saucer so the roots do not sit in water. If a very dry mix sheds water down the sides, water in smaller passes and check whether the center has become moist. Water in the saucer does not necessarily mean the whole root ball is wet.
Use a pot with drainage holes. Without a way for excess water to escape, it is hard to judge how wet the root zone has become. A decorative cover pot can hold a smaller nursery pot: take the inner pot out to water it, let it drain, then put it back. Yellow leaves and wilting can result from either too much or too little water, so check the soil before changing your routine.
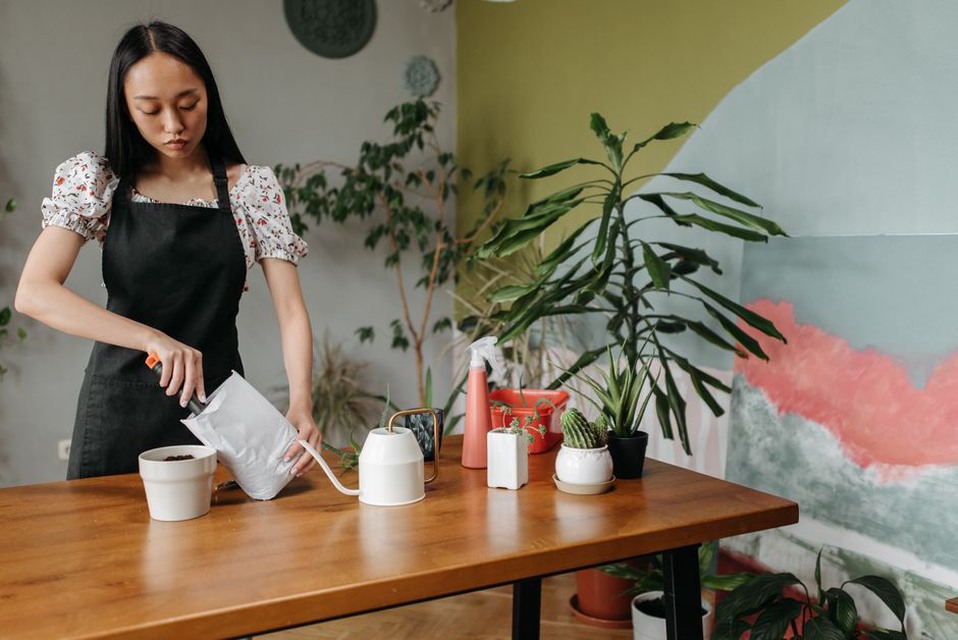
Use a pot and mix that support the roots
Garden soil often compacts in a container and may drain poorly. Choose a potting mix suited to the plant. Some do better in a coarser mix that drains quickly; others need a mix that holds more moisture. The goal is to leave both air and water around the roots.
Repot when there is a reason: roots are circling densely inside the container, water runs through an exhausted mix, or the pot dries much faster than it once did. Choose a pot only modestly larger than the root mass. In an oversized pot, the extra mix can stay wet longer than the roots can use it. Gently loosen tightly circling roots, add fresh mix and keep the plant at about its former soil level. If growth pauses briefly after repotting, don’t respond by watering repeatedly.
Inspect leaves and stems during routine care
A quick weekly inspection can reveal problems early. Look under leaves and along stems for insects, sticky residue, fine webbing or unusual speckling. Check soil moisture at the same time and remove leaves that have fully died. You can gently wipe dust from leaves with a damp cloth if their texture allows it; wiping may damage fuzzy leaves.
- Wilting with dry soil: Water thoroughly, allow the pot to drain and give the plant time to recover before reassessing.
- Wilting with wet soil: Do not add more water. Check drainage and consider whether the roots have stayed wet too long.
- Crisp brown edges: Look at watering consistency and exposure to heat or drafts. The mark alone does not identify the cause.
- Visible pests: Separate the plant from others while you identify the pest and choose a treatment suitable for that plant.
One older leaf turning yellow may be part of normal growth. Several leaves changing at once, especially with wet soil or stalled growth, call for a closer look. Note what has changed before adjusting several parts of the care routine; otherwise, you won’t know which change helped.
Adjust care as growth changes
Fertilizer supports growth but cannot replace adequate light or healthy roots. Follow the label on a product intended for houseplants, and don’t apply extra fertilizer to try to revive a stressed plant. Feeding is generally most useful while the plant is producing new growth. During darker months, slower growth may leave the soil moist for longer. Check the mix and adjust watering rather than sticking to a summer schedule.
Keep a brief note of when you watered, how the soil felt and any visible changes. If a pot was damp on Monday and dry several centimeters down on Thursday, check it again before watering; it may not dry at the same rate next week. That record is particularly useful when daylight or room heating changes.