
Vegetable peels left in a closed bucket soon become wet and smelly. In a compost bin, mixing them with dry leaves or torn cardboard gives the material a better balance of air and moisture. Those conditions matter more than any elaborate equipment.
Compost is the dark, crumbly material left as microorganisms and other decomposers break down organic waste. It can improve soil structure and help garden soil retain moisture. A home pile does not have to get hot, but it does need a suitable location and some care over what goes into it.
Choose a method that fits your space
An outdoor bin or pile works where materials can sit for months. A lidded bin contains loose scraps and keeps the area tidier. An open pile is easier to turn, but exposed food needs more attention if animals are nearby. Choose level, well-drained ground that you can reach year-round, with room to lift a lid and mix the contents. Keep the pile clear of drains and buildings, and avoid a spot where runoff would cause a nuisance.
Without a yard, check for a local food-scrap collection or community compost program. Some accept materials that do not belong in a small home bin, though rules vary. Worm composting, or vermicomposting, can also work in a sheltered space. Composting worms live in bedding and process modest amounts of suitable scraps; protect their bin from temperature extremes and avoid overfeeding it.
A closed bucket of kitchen scraps is storage, not a compost bin. Empty it regularly and wash away residue. A small container with a secure lid makes collection easier, but the scraps still need to go to a pile, worm bin, or collection program.
Understand greens, browns, air, and water
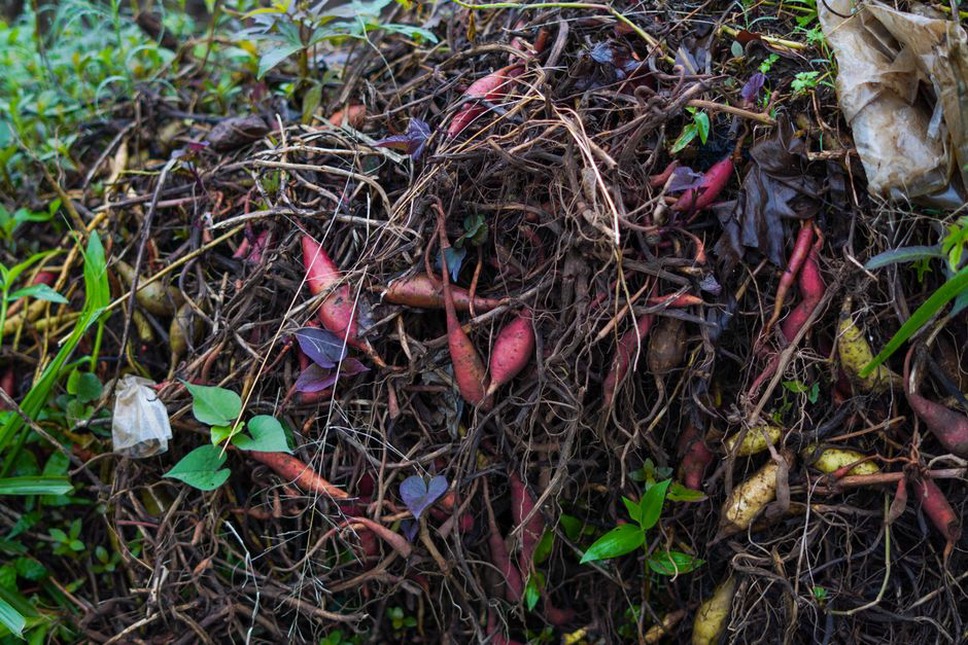
Composters call moist, nitrogen-rich materials greens and dry, carbon-rich materials browns. The terms describe what the materials contribute, not necessarily their color: used coffee grounds count as a green, while dry leaves are a brown. Decomposers need both, along with water and oxygen.
What can go in a basic home bin?
- Greens: fruit and vegetable scraps, coffee grounds, tea leaves, fresh grass clippings added in thin layers, and spent flowers that have not been treated with persistent herbicides.
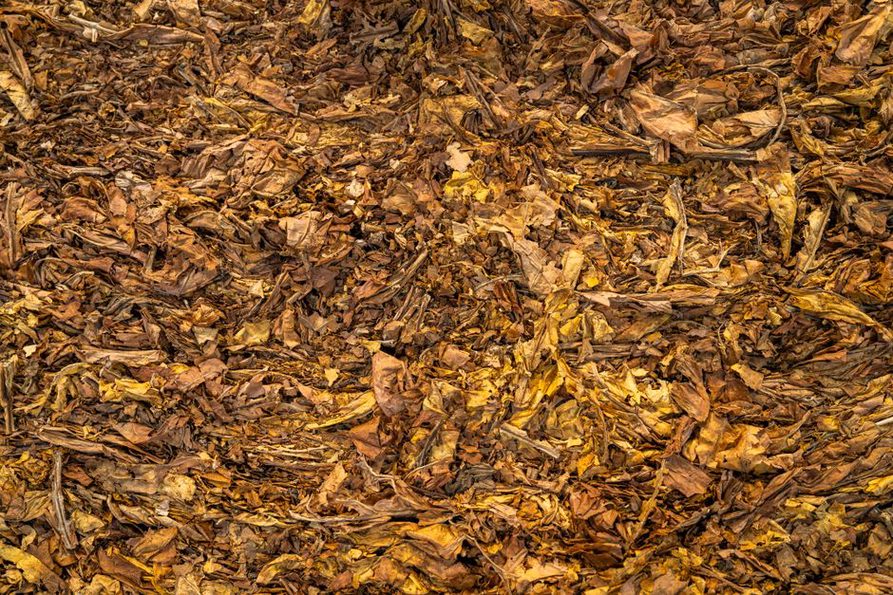
- Browns: dry leaves, small twigs, shredded plain paper, torn uncoated cardboard, and modest amounts of untreated wood shavings.
- Usually leave out: meat, fish, bones, dairy, fats, oily cooked food, and pet waste. In a small, cool pile, these can attract animals, cause odors, or raise hygiene concerns.
Keep out glossy or plastic-coated packaging, produce stickers, and materials whose composition you cannot identify. Diseased plants and weeds with mature seeds may survive in a pile that never gets hot enough to kill them; leave them out unless you know your process treats them effectively. Be cautious with clippings from recently treated lawns, too. Follow the herbicide label rather than assuming the residues are safe for compost.
You do not need to weigh each addition. Start by surrounding kitchen scraps with a generous layer of loose browns, then watch how the pile behaves. Too many food scraps can leave it wet and short of air; a pile of almost nothing but dry leaves may decompose slowly for lack of moisture and nitrogen. The Encyclopaedia Britannica overview of compost explains the biology behind decomposition. At home, the job is to keep conditions favorable for it.
Build the pile without making it complicated
- Start with loose material. Put dry leaves or small twigs at the bottom so the first scraps do not form a soggy mat. This will not fix a poorly drained site; do not set the bin where the ground regularly floods.
- Add suitable scraps. Cut large pieces into smaller ones when convenient. That exposes more surface area to decomposers, but there is no need to finely chop everything.
- Cover fresh food. After each batch of kitchen scraps, add leaves, shredded cardboard, or another brown. Covering food helps limit odors and interest from flies or rodents.
- Check moisture. Mixed material should feel damp, not saturated. If it is dusty and showing little change, add some water while mixing. If liquid drips from a squeezed handful, add dry browns and turn the pile.
- Mix occasionally. Bring material from the edges toward the center with a fork or compost tool. This admits air and exposes wet pockets. If turning is difficult, a less intensively managed pile can still work, though it may take longer.
Soft scraps break down faster than tough stems or thick wood. Leave large woody pieces out or break them down separately. Enough volume helps a pile retain warmth, but a small bin can still produce compost given time. Nor is heat the only sign of progress: home composting often stays cool, especially in cold weather or when you add small amounts frequently.
Keep dry browns close to the bin so you can cover scraps even when fallen leaves are scarce. Autumn leaves stored in a lidded container or dry bag work well for this. Tear cardboard into mixable pieces; large sheets can stick together when wet.
Read the signs when something goes wrong
Rotten or sour smell: The contents may be too wet, compacted, or heavy on greens. Mix in air and loose, dry browns. If water collects beneath the bin, deal with the location as well as the mixture.
Ammonia smell: There may be too much nitrogen-rich material, such as a thick layer of fresh grass. Break up the layer and mix in browns rather than adding more grass on top.
Fruit flies: Bury exposed fruit scraps and cover them with browns. Keep the kitchen bucket closed and empty it before scraps ferment.
Rodents or other animals: Remove attractants, particularly meat, dairy, and exposed cooked food. Where animals are common, use a suitable enclosed bin and check for gaps at its base. Do not handle animal-contaminated material with bare hands.
Little visible change: The pile may be very dry, mostly woody, or frozen. Add water only if it needs it; mix in suitable greens if it consists largely of dry browns. Cold slows decomposition, but you can keep adding scraps if the bin has room.
Know when compost is ready
Finished compost is generally dark, crumbly, and earthy-smelling. Original food scraps should be hard to identify, though a few woody pieces may remain. Pick or screen them out and return them to the active pile. Compost that smells sour, feels slimy, or still contains recognizable fresh scraps needs more time and air.
A bin receiving regular additions may hold finished compost at the bottom and fresh material at the top. Remove the older portion carefully instead of using the whole bin at once. If the setup allows, let one section finish while you add new scraps to another. Weather, ingredients, moisture, and mixing all affect the time required; a date on the calendar cannot tell you when compost is mature.
Use finished compost to amend garden beds or as a surface layer around established plants, keeping it away from direct contact with stems. It does not replace soil, and the nutrient content of homemade compost varies. Wash your hands after handling it and wash produce before eating. Keep unfinished compost away from seedlings: active decomposition can compete for nutrients or create unfavorable conditions.
When taking out a finished batch, return any recognizable twigs and peel fragments to the bin. Mix them with the next addition of dry leaves and give them more time to break down.