
A balcony compost bin needs to contain any liquid it produces. A tray can catch drips, but it cannot make a leaking bin suitable for an apartment. Check the lid, seams and base before adding food scraps, and confirm that your building permits composting where you plan to place it.
Limited space makes the choice of system important. You do not need to process every scrap immediately. Choose a setup that fits the available area, the amount of food waste you produce and a realistic plan for the finished material. A small bin you can manage is more useful than a larger one that stays wet or has nowhere to be emptied.
Start with the space and the destination
Measure the usable footprint, not the whole balcony or patio. Allow room to open the lid, add dry material and remove compost without hauling heavy containers across a doorway. Keep circulation routes, drains and emergency access clear. On a balcony, account for the bin, its moist contents and any other stored materials; do not assume the structure can carry an unknown extra load. Check building rules and seek a qualified assessment if placement is uncertain.
Decide where the output will go before you start. A few plant pots may use far less compost than your kitchen generates. Community gardens, gardening neighbors or local organics programs may offer an outlet, but check what each accepts. Some programs take raw scraps rather than finished compost. If you have no outlet for compost, a small worm bin or a collection service may be a better fit than an outdoor pile.
Match the method to the site
- Small aerobic bin: Suits a ventilated balcony or compact patio with room to mix materials and shelter the bin from rain. Keep dry, carbon-rich material on hand.
- Worm bin: Can work in a sheltered outdoor spot or a suitable indoor location. It processes appropriate scraps gradually and must be protected from temperature extremes.
- Shared compost site or organics collection: Useful when space, building rules or limited demand for compost make home processing impractical. Check the program’s acceptance rules.
- Fermentation bucket: Holds scraps in a sealed, compact container, but the contents still need somewhere to be processed or disposed of. Fermentation alone does not produce mature compost.
A tabletop container is usually a temporary scrap collector, not a complete composting system. It can fill quickly if there is no plan for emptying it.
Set up an aerobic bin without creating a wet pile
Ordinary composting depends on microorganisms that need moisture and air. Kitchen scraps supply water and nitrogen. Dry leaves, torn plain cardboard and uncoated paper absorb some moisture and help keep the contents loose. Soft scraps packed tightly together exclude air and can develop strong odors. A ventilated container with a lid that sheds rain is easier to manage than an open bucket.
Put the bin somewhere you can reach in poor weather, away from heavy rain and intense sun. Use a tray if the surface below needs protection, and check it regularly. Standing liquid means the contents need attention; do not leave it to accumulate. If the bin has drainage openings, screen them against pests and make sure any liquid can be contained.
Start with a loose layer of dry leaves or torn cardboard. Add a modest amount of chopped fruit or vegetable scraps and cover them completely with more dry material. Smaller pieces break down more readily, but there is no need to puree food. Store extra dry material nearby in a covered container so you can cover each addition. Mix or gently turn the contents when dense pockets develop, taking care not to compress the pile.
Judge moisture by touch rather than by a fixed schedule: the material should feel damp but should not drip when squeezed. If it is soggy or smells sour, mix in dry, bulky material. If it stays dry and looks unchanged for weeks, add moist scraps or a little water, then mix again. A small bin may work slowly in cool weather because it retains less heat than a large pile. Slow progress alone is not a sign that something is wrong.
Choose inputs conservatively
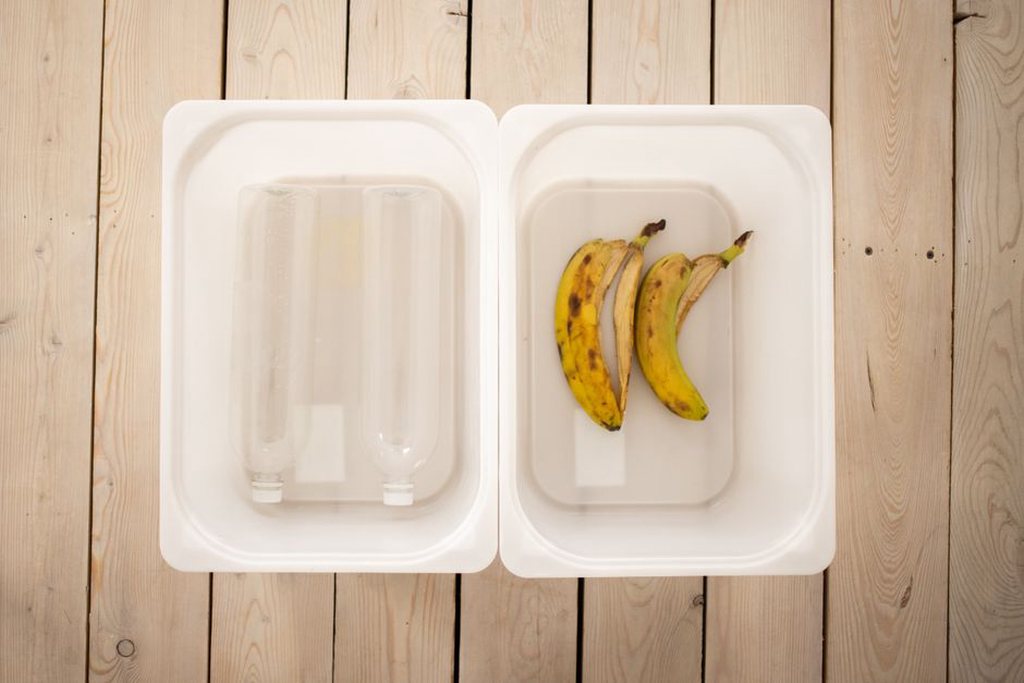
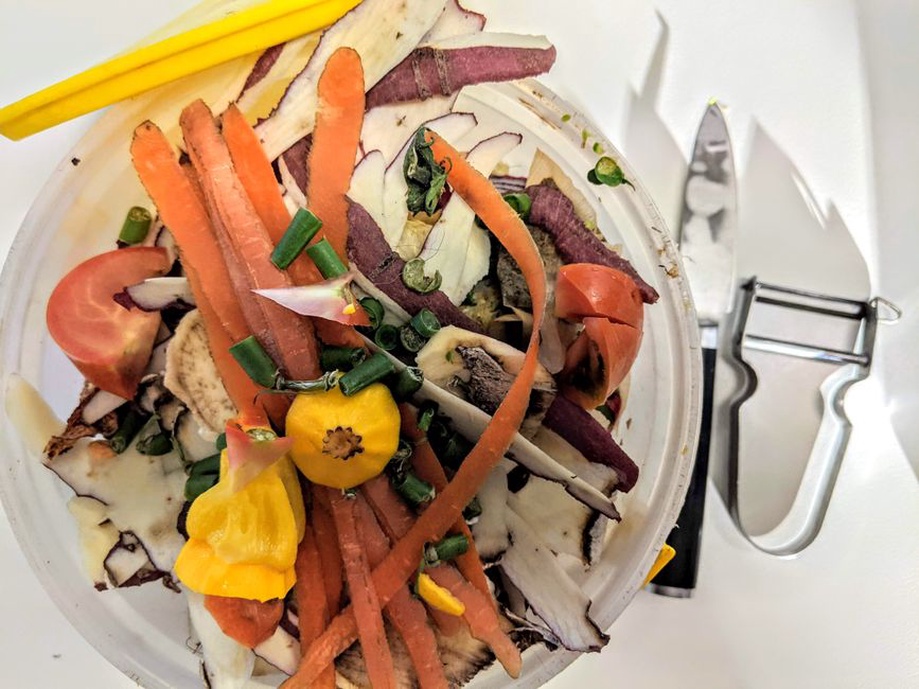
For a first bin, stick to fruit and vegetable trimmings, coffee grounds, tea leaves without plastic-containing bags, crushed eggshells and modest amounts of plain plant material. Add dry leaves, torn uncoated cardboard or plain paper alongside them. Remove produce stickers and packaging. Tear cardboard into loose pieces so it does not form a wet mat.
Leave out meat, fish, dairy, fats and oily cooked food unless a particular managed system explicitly accepts them. In a small home bin, they can attract pests or cause odors. Avoid pet waste, diseased plants, glossy packaging and chemically treated materials unsuitable for compost. Serviceware labeled compostable may need industrial processing conditions; the label does not mean it will break down in a balcony bin.
Use a worm bin when mixing space is scarce
Worm composting can suit a space where turning an aerobic bin would be awkward. It calls for breathable bedding, suitable composting worms and reasonably stable conditions—not garden soil packed into a sealed box. Damp shredded cardboard or paper can serve as bedding. Provide ventilation, keep the enclosure secure against pests and escaping worms, and place it where direct sun or cold will not overwhelm them.
Feed small amounts at first, increasing only after the worms have worked through what is there. Bury scraps beneath the bedding instead of leaving them exposed. Soft produce scraps are generally easier to manage than large, dense pieces. Substantial amounts of citrus, onions, salty food or oily food can make conditions less suitable. A healthy bin smells earthy; a persistent rotten smell often points to too much food, too little air or overly wet bedding.
Worms need ongoing care. A balcony that overheats in summer or freezes in winter may not be suitable year-round, and the bin may need to move indoors during extremes. If there is no suitable indoor spot, consider a seasonal outdoor aerobic bin or an organics collection option instead.
Keep scraps from becoming a pest problem
Fruit flies may arrive with produce or gather where food is exposed. Cover each addition with dry material or bedding, seat the lid properly and wipe scraps from the rim. A small kitchen caddy with a well-fitting lid can hold food waste between trips to the bin; empty and wash it often. Freezing scraps until you can add them may reduce storage odors. Once thawed, they can be wet, so add absorbent dry material too.
Odors offer clues. A sharp ammonia smell can mean there is too much nitrogen-rich material relative to dry carbon-rich inputs. Rotten or sour smells often accompany wet, compacted contents. Pause food additions, mix in dry bulky material and check ventilation and drainage. If pests are getting in, fix the entry point rather than covering the problem with more scraps.
Keep scraps off the balcony floor and liquid out of shared drainage. Avoid placing the bin against doors or ventilation openings where odors may reach neighbors. Regular housekeeping also makes a cracked tray or loose lid easier to spot.
Know when the material is ready to use
Finished compost is dark and crumbly, smells earthy and contains few recognizable food pieces. The calendar is a poor guide: temperature, particle size, moisture and the frequency of new additions all affect progress. Continuously mixing fresh scraps into one bin also makes mature material hard to separate. If space allows, stop feeding one container while its contents finish and add new scraps to another. In a worm bin, shift feeding to one side, then harvest material from the side the worms have largely left.
Screen out recognizable scraps and return them to an active bin. Let partly decomposed material finish processing rather than packing it against plant roots. Use mature compost as part of a potting mix or as a thin top-dressing, not as a complete substitute for a suitable growing medium. For edible crops, use clean inputs, follow good hygiene practices and wash produce before eating it. Home composting is not a verified treatment for hazardous materials.
Before the first feeding, put aside a covered supply of dry leaves or cardboard and confirm where the finished compost will go. Add one small batch of scraps and cover it fully. Check that batch before adding more: its moisture, smell and the condition of the tray will tell you whether the setup is working in the space you have.