
A cheap ticket can turn into an expensive bridge visit if the train arrives after the useful daylight has gone. An extra night’s lodging or another local trip may wipe out the fare saving. For an independent visit to publicly accessible infrastructure, compare the full cost: intercity travel, local connections, accommodation, food, and the time you will have to observe the site safely.
A weekend visit can help an engineer or student understand how a transport asset fits its surroundings. It cannot replace a formal inspection. Public viewpoints may reveal how a bridge meets its approach embankments, where drainage reaches the surrounding ground, or how a tunnel entrance connects to the road network. Assessing material condition, foundation performance, or operational safety requires access, records, measurements, and professional judgment. That boundary is worth setting before you plan the trip.
Choose one question before choosing a destination
“See a notable bridge” is a loose aim that can produce an expensive itinerary and little time on site. A specific question helps you choose both a destination and the public viewpoints you need. How does a river crossing connect to floodplain roads? Does a railway embankment interrupt natural drainage? Where do pedestrian routes pass beneath a busy viaduct? These are questions about visible context, not conclusions about compliance with a design standard.
Shortlist two or three places you can reach without a private vehicle. Look for legitimate views from streets, paths, or public transport stops. An ordinary structure beside a public walkway may be more useful than a landmark that requires a costly taxi or access via a restricted road. Maps can suggest a route, but a line on a map does not establish a right of entry. Check the managing authority’s current information for closures, construction work, opening hours, and any photography restrictions.
Consider what you can see once you arrive. A bridge with visible approach roads and a riverside path could support several hours of observation. A tunnel portal visible only from the shoulder of a fast road is not a suitable pedestrian destination. If the main viewpoint relies on a seasonal path, ferry, or visitor facility, check that it will be open on your travel dates.
Price the trip as a complete chain
Compare the cost of the whole weekend, not the headline fare. Write down the likely expenses before booking; even rough figures will expose a plan whose final connection has been left out.
- Intercity travel: outward and return fares, including required reservations or baggage charges.
- Local movement: travel between the station, lodging, and site in both directions; check whether walking is realistic.
- Accommodation: the total payable amount, including taxes or fees shown at checkout, rather than the advertised nightly rate.
- Food and water: meals during travel and at the site, particularly if shops are scarce nearby.
- Access costs: admission to a visitor facility or an organized tour, if it is central to the plan.
- Contingency: a modest amount for a changed connection or another necessary expense, separate from planned spending.
Price the return leg alongside the outward one. A cheap departure paired with an expensive Sunday return may make another destination the better choice. Check the fare conditions, too: a ticket tied to one departure leaves less room for a disrupted local connection, while flexibility may cost more. If day passes are available, compare one with the individual trips you would actually take.
Three columns are enough for an initial comparison: expected cost, travel time, and useful time at the destination. One itinerary might cost less but leave only an hour before the public path closes. Another might cost a little more and allow an afternoon on site plus a short return visit the next morning. The better-value option is not necessarily the cheapest.
Build the schedule around usable daylight and access
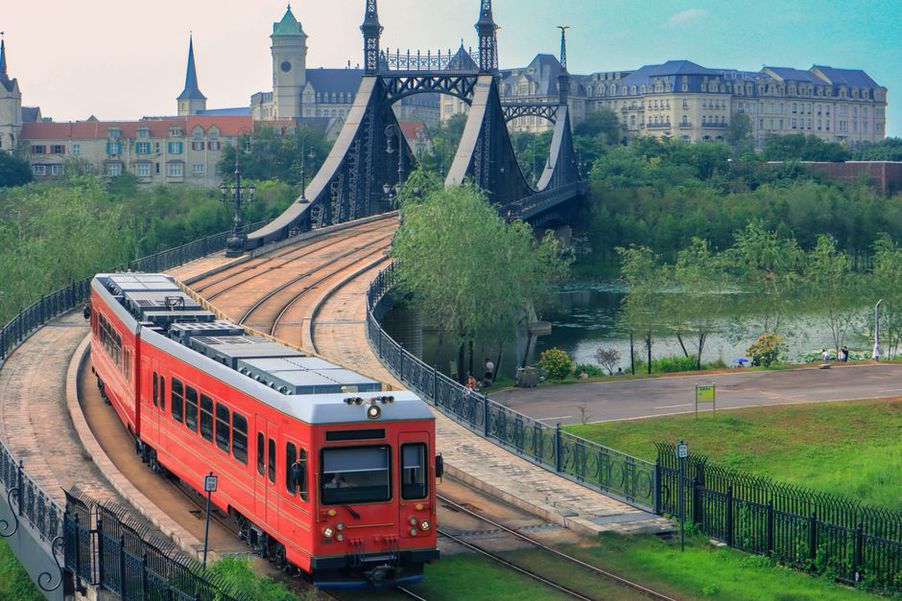
Work backward from the site rather than starting with the earliest advertised train. Check when the public route opens, when daylight fades, and how long it will take to reach the first useful viewpoint. Leave room for slow walking, orientation, and notes. Arriving near sunset may be fine for an urban evening visit, but not for studying the relationship between an embankment, a watercourse, and an approach road.
Keep the first day simple
One principal site is usually enough for a two-day weekend. Arrive on Saturday, leave your luggage somewhere within practical reach of transit, and visit in daylight rather than crossing town repeatedly. A brief Sunday visit can settle a question that arose while reviewing your notes, provided it does not put the return connection at risk.
Resist filling every spare hour with another structure. Extra stops use time and local fares, often at the expense of closer observation. If two sites are genuinely close and share a public route, comparing them may be worthwhile. Otherwise, leave the time free for bad weather or a longer look at the main site.
Check the last connection, not just the first
The final service back from the site may be the most important entry in the timetable. Note where it departs and identify an earlier option. Check for weekend schedules, long walks between transfers, and what you would do if a disruption left you unable to reach your lodging by the planned route. A convenient morning route can be awkward after a path closes or local services thin out.
Save or print the timetable in case reception is poor, but do not treat it as a guarantee. Check live operator notices before departure and again before heading to a remote viewpoint. If the plan depends on one infrequent service, allow more time or choose a site with more dependable connections.
Spend carefully on accommodation and meals
The cheapest bed is not always the cheapest base. Compare the total payable price and the location relative to your arrival terminal, the site, and your route home. Staying near a dependable transit line may save local fares and reduce uncertainty on an early departure. Check the accommodation’s check-in window, luggage arrangements, cancellation terms, and whether leaving early is practical.
Plan food to avoid being forced into an inconvenient purchase. A site outside the town center may have nowhere nearby to buy lunch or refill water. Check options near your arrival point and along your route. An ordinary packed meal, where permitted and practical, lets you stay at a viewpoint without having to search for an open café. Take packaging away with you, particularly where drainage channels lead to a watercourse.
Do not save money by leaving behind what you need to travel and observe safely. Footwear suited to the public paths, clothing for the weather, water, and a charged phone may matter more than another paid attraction. A small notebook or offline map may be more useful than equipment you will not use.
Prepare a short observation plan
Before leaving, list three to five things you can reasonably examine from public ground. This keeps the visit focused and discourages unsupported assessments of condition. At a bridge, you might note the sequence of paths and roads, visible drainage outlets, the position of embankments relative to the floodplain, and where vegetation blocks the view. At a tunnel, you might record how public routes sit around the portals and where pedestrian access ends and operational access begins.
Separate what you see from what you think it means. “Water is flowing across the public footpath after rain” is an observation. “The bridge drainage has failed” assigns a cause that a casual visit cannot establish. Record the viewpoint, approximate time, and weather with each note; they may explain why a feature was visible on one visit and not another. Photographs can document context, but a distant image is not reliable evidence of a defect.
For an urban walk, use a simple sequence:
- Begin at a public overview showing the structure and its approaches.
- Follow a permitted route along one side, noting changes in level, drainage paths, and connections to surrounding streets.
- Stop at a second viewpoint and check your first impression against what you can see there.
- Write down what remains out of sight instead of filling the gaps with assumptions.
A publicly accessible visitor center may offer drawings or a historical account. Use these to frame questions, not to infer present condition: an original design may differ from later alterations or current operating arrangements. For professional work, obtain current asset information through the appropriate owner or authority.
Set firm boundaries around safety and access
A low-cost visit must not rely on a shortcut through an operational area. Do not enter railway land, maintenance tracks, closed paths, drainage works, fenced compounds, or a road shoulder for a closer view. A camera does not make an unsafe position acceptable. Follow signs and barriers even if a map shows a through route; maintenance or weather may have changed access.
Watch river levels and ground conditions. A comfortable riverside viewpoint in dry weather may be slippery or inaccessible after rain. Unstable banks, steep slopes, and fast water are not worth a better angle. At a tunnel or underpass, stay on designated pedestrian routes, keep exits clear, and avoid interfering with operations. Leave any crossing or path that feels unsafe off the plan.
Rain may reveal drainage behavior, but it can also reduce visibility, affect paths, and disrupt transport. Check the forecast before committing to a nonrefundable booking and again before setting out. If a site is closed or subject to an extreme-weather warning, choose a reachable public alternative rather than sticking to the original schedule.
Use a budget ceiling and a decision point
Set a spending ceiling before searching fares. Separate committed costs, such as tickets and accommodation, from flexible costs, such as meals and local travel. Keep contingency outside the amount you intend to spend. If fares bring committed costs close to the ceiling, reconsider the date or destination; food and local connections will still need paying for.
Make a decision before any nonrefundable purchase: is public access available, can you get home, and can you reach at least one worthwhile viewpoint in the time you have? If severe weather or a closure later removes the main reason for going, check your booking terms before choosing to travel, postpone, or visit an alternative site. Spending more to salvage a plan that no longer works rarely helps.
Put the final itinerary on one page: booking references, accommodation address, first and last local connections, public access point, and one backup route. Mark the time you must leave the site to catch your return service. On a wet Sunday afternoon, that departure time will be easier to act on than a long list of possible trains.