
Before choosing a paint color, inspect the room in daylight. Look for peeling paint, cracks, mildew, soft drywall, and discoloration. Paint will not fix a damp water stain, loose plaster, or caulk pulling away from a window frame. If moisture is still getting in, the new coating may fail.
Decide whether the room is ready for DIY painting
Most sound interior walls are manageable if you allow time for preparation. Stop and investigate if paint is bubbling, drywall feels soft, or a stain grows after rain or plumbing use. Fix the source of moisture and let the surface dry before repainting. Widespread mold, extensive plaster damage, or a ceiling you cannot reach safely may require qualified help.
Take care with older coatings. In US homes built before 1978, disturbing painted surfaces may create lead dust. Rules and risks vary by location, so check local guidance before sanding or scraping older paint. If asbestos-containing materials might be disturbed, do not cut, sand, or drill them. Painting an intact surface is different from demolishing it or preparing it aggressively.
Decide what the job includes: walls only, or the ceiling, trim, doors, and closet interior too. Each added surface changes the materials, time, and order of work. Contrasting trim, especially in a different sheen, may be better treated as a separate job.
Estimate paint and choose the right products
Measure the width and height of each wall, multiply to find its area, then add the results. You can subtract large openings, but allow a margin for waste and touch-ups. In a 4 m by 3 m room with 2.5 m-high walls, the gross wall area is 2 × (4 + 3) × 2.5, or 35 m². Divide that area by the coverage stated on the can and account for the number of coats. Actual coverage depends on the paint, roller, wall texture, and absorbency; a dramatic color change may take more paint than expected.
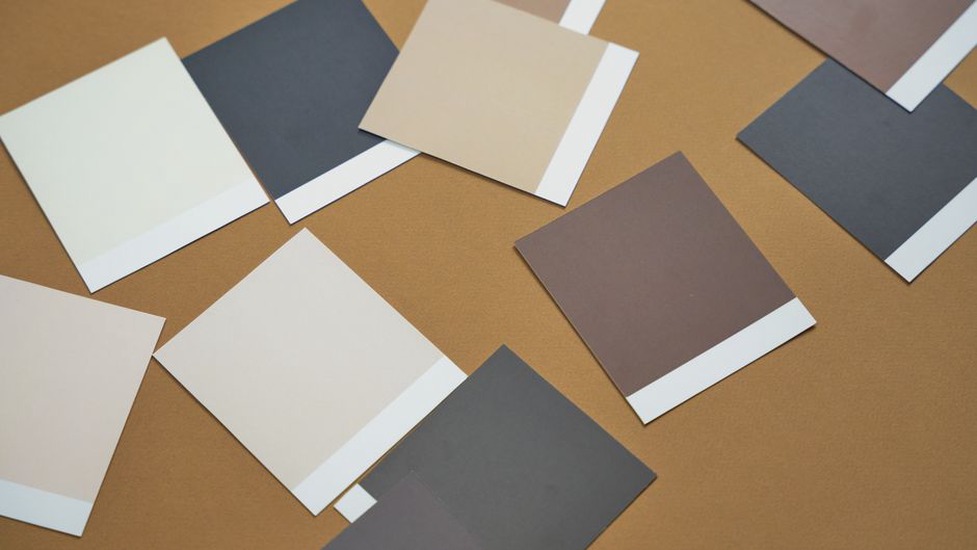
Check the label for compatible surfaces, recoat time, ventilation instructions, and cleanup method. Washable interior wall paint is practical where marks are common. Flat finishes tend to hide imperfections but can be harder to clean; glossier finishes usually reveal defects more readily. Test a small patch and look at it in daylight and under the room’s usual artificial lighting.
When primer earns its place
Previously painted walls do not always need primer. Bare drywall and repaired patches may need sealing, while a suitable primer can improve adhesion on a cleaned surface and reduce uneven absorption. Stains or difficult color changes may call for a product made for that purpose. Follow the manufacturers’ instructions when matching primer to the surface and finish coat; ordinary wall paint is not a reliable substitute for stain-blocking primer.
Plan the work, not just the shopping list
Gather a roller frame and cover suited to the wall texture, an extension pole, an angled brush, a tray or bucket with a grid, drop cloths, painter’s tape, cleaning supplies, patching material, and a stable step ladder. Wear safety glasses for overhead work. Tools that shed fibers or leave uneven marks can mean extra sanding and repainting.
- Clear access: Move furniture away from the walls and cover what remains. Protect floors with drop cloths that will not slide underfoot.
- Allow drying time: Make room in the schedule for cleaning, repairs, primer if needed, each coat, and the label’s recommended recoat interval. Dry to the touch does not necessarily mean ready for another coat.
- Check conditions: Follow the product’s temperature and humidity guidance. Poor drying conditions can affect the finish.
- Arrange ventilation: Open windows when conditions allow, and provide airflow without blowing dust across wet paint. Follow label precautions even with low-odor products.
Keep children and pets out of the work area. When painting a ceiling, work from a stable position rather than overreaching from a ladder. Switch off power before removing switch and outlet cover plates, and keep paint and liquid out of electrical fittings. Leave any work that requires loosening a fixture or exposing wiring to a qualified electrician.
Surface preparation determines the finish
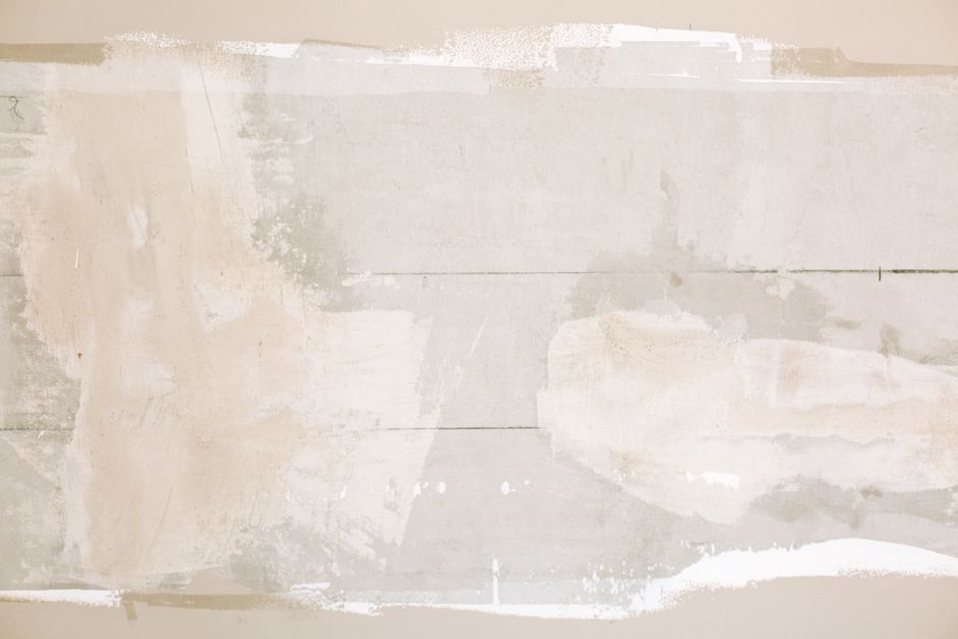
Remove dust and grease, especially around switches, cooking areas, and door frames. Use a cleaner appropriate for the surface, rinse if directed, and let the wall dry. Fill small holes with a suitable patching compound. Once it has cured, sand the repair smooth without raising unnecessary dust, remove the residue, and prime the patch if required. A hand held close to the wall can detect a ridge that is hard to see straight on; light cast across the surface can reveal it too.
Scrape only paint that is already loose and safe to disturb. Do not coat over failing edges. If you use tape, press it onto a clean, dry surface; it will not make up for an unsteady brush stroke or seal a rough wall perfectly. Protect hardware, and remove cover plates rather than painting around them when practical.
Apply paint without creating avoidable defects
Stir the paint as directed, then pour a manageable amount into a tray or bucket. Brush around the edges and roll the adjacent wall while the brushed paint is still workable. Use overlapping passes and keep a wet edge instead of stopping halfway across a wall. Load the roller evenly without flooding it; pressing too hard can leave ridges and splatter. Work one wall at a time, checking corners and trim for drips.
Wait for the label’s stated recoat interval before assessing the first coat. Inspect the dry wall under normal room lighting and from different angles. Repairs may absorb paint unevenly, and old color or roller marks may become more obvious as the coat dries. If a second coat is needed, cover the full wall consistently. Spot-painting isolated areas can leave a different sheen.
Remove tape according to its instructions so it does not tear the fresh paint film. Wash reusable tools with the appropriate cleaner, then close leftover paint tightly in its original labeled container. Note the paint name, color, sheen, and room on the lid; those details will help when it is time for a touch-up.